Creating a project release
A release is a snapshot of your project that can be installed with Composer (or downloaded as tar.gz / zip file from your project page). You can create either an official release or a development release. Read more about the types of releases.
Creating an official release is a two step process:
- Create a Git tag - the actual release tag.
- Publish the release, from the tag, using the web interface - on the Add new release page.
Development releases are published directly from a branch, so it's just one step - no tag need. Check if the default Gitlab branch and latest release match (for example 3.x and 3.4.2).
Supporting information
- The Version control tab on your project page will give you all the commands you need to create a new branch or a new tag using Git. Many commands are listed on this page too.
- The Add new release page (linked to at the bottom of the project page) lists all valid branch and tag names. You need to follow these. Read more about release naming conventions.
- Read about Semantic Versioning for a better understanding of major and minor releases.
Creating a release tag
Start by checking out the branch you want to release from, for example:
git checkout 1.xMake sure the branch name follows the naming conventions - major.x or major.minor.x. If not, you need to rename the branch.
Create and push a new release tag, for example:
git tag 1.0.0
git push origin 1.0.0
To make a stable release, the tag has to be three numbers separated by full stops as the example above.
Publishing a release
- On the main project page, click the Add new release link at the bottom of the page.
- Select your tag, such as 1.0.0, and save the form.
- Select the terms that correspond to the nature of the release (Features, Bug fixes), and fill out release notes (see also Making change logs and release notes).
- Click Save. An unpublished release page appears. Drupal.org publishes this page within 5 minutes and attaches automatically-generated .tar.gz and .zip files of your project code.
Make a release supported
- Click the Administer releases link at the bottom of your project page.
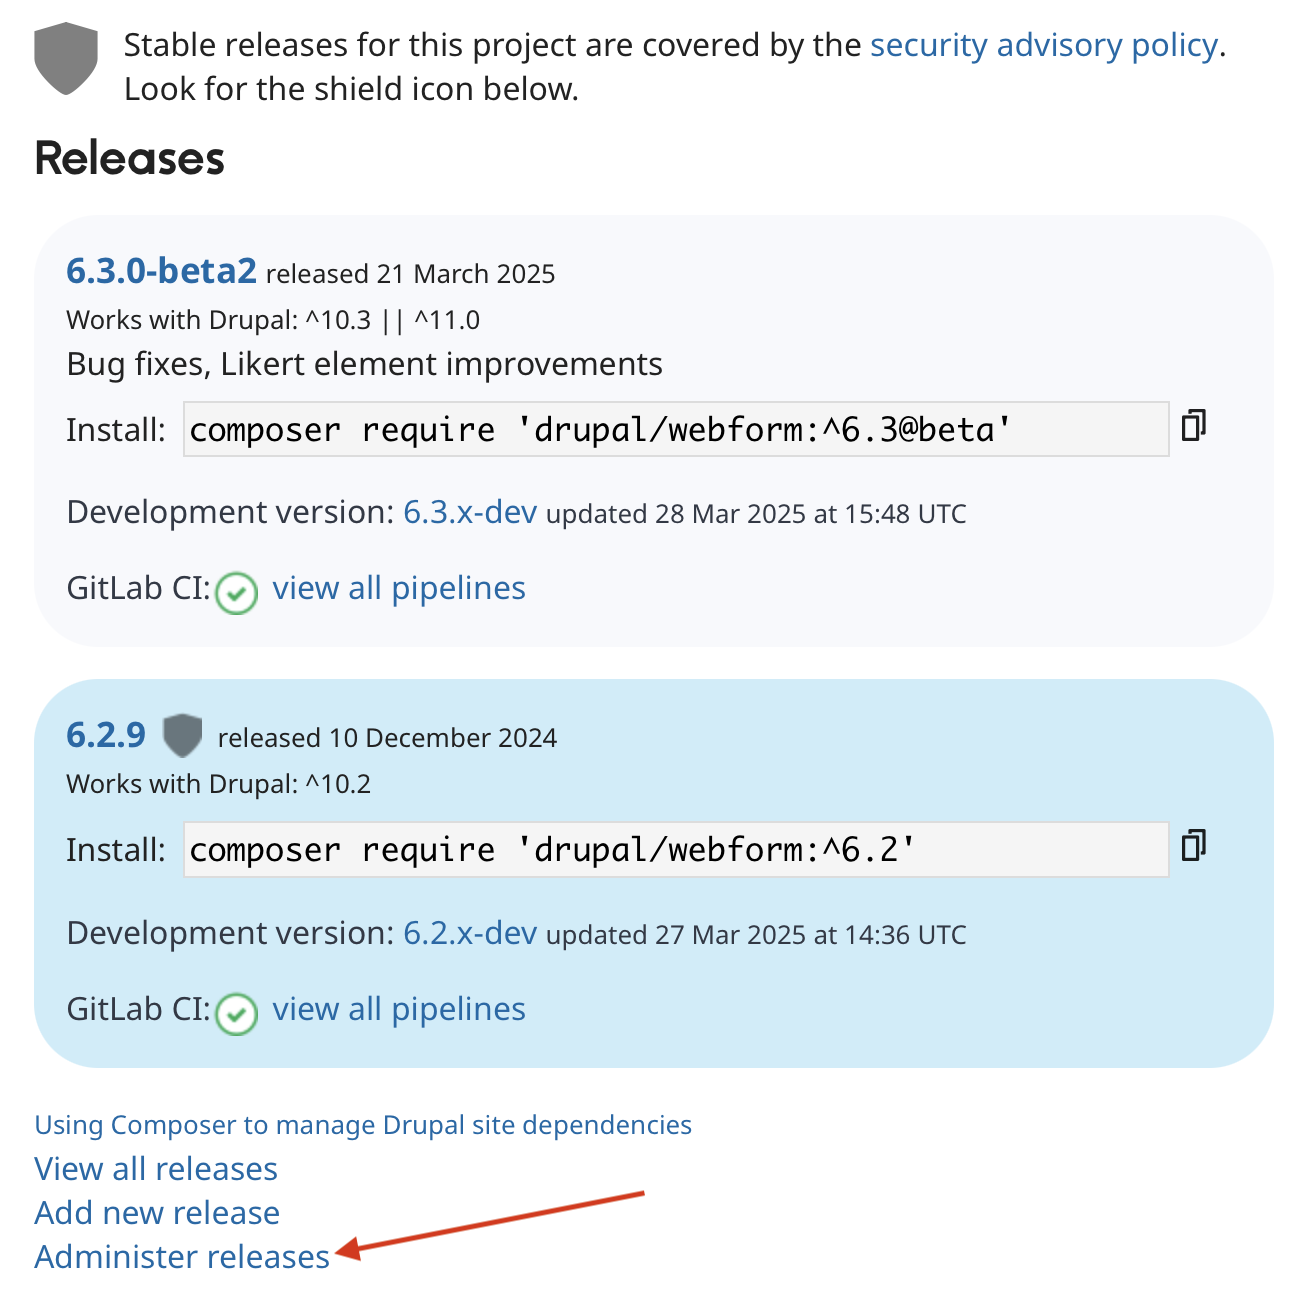
- Check the Supported box for the release, and uncheck any other releases that you will no longer support.
- Click Save.
Creating a development release
- Click the Version control tab on your project page, and follow the instructions labeled Branch for a dev release.
- Return to the main project page, and click the Add new release link at the bottom of the page.
- Select your branch, such as 1.x, and save the form.
- Select the terms that correspond to the nature of the release (Features, Bug fixes) and fill out release notes.
- If you'd like the development release to appear as an option in your project's page, check the box labeled Show in project’s download table when branch is supported.

That option can be found on the individual release page (to get to that page, click View all releases, click on the release to show, such as "yourmodule 1.x-dev", and click the edit button. - Click Save. An unpublished release page is created. This can be viewed by clicking View all releases. Drupal.org publishes this page within 12 hours and attaches automatically-generated .tar.gz and .zip files of your project code.
Note: Git submodules, while allowed by the repositories on drupal.org, will not be included in releases.
Excluding non-production code from releases
Code that's not necessary for end users to run your project, such as tests and continuous integration settings, can be excluded from releases by creating a .gitattributes file in the root of your project and adding lines for any files or directories you wish to ignore:
/tests export-ignore
/.gitignore export-ignore
This method works because Drupal.org uses git-archive to package releases. Note that all files will still be available for users that clone your project via Git.
Fixing releases
Once you make a release, the only way to fix a problem is to make a new release that includes the fix.
After you make a release, sometimes you discover a bug that you want to immediately fix. You wish you could move the Git tag for the release, and create a new release, but retain the same version number. However, modifying a release after it exists is intentionally prevented by the release system. Once you release something, it’s out in public and you can not take it back.
Deleting a tag/branch
If you mistakenly added a tag or branch, and want to remove it (assuming you haven't created a release with the tag, or committed anything to the branch), you can remove it by running the following commands.
Branch with name "branchname" (the second command is only needed if you already pushed it to the drupal.org repository):
git branch -d branchname
git push origin :branchname
Tag with name "tagname" (again, the second command is only necessary if you already pushed it to the drupal.org repository):
git tag -d tagname
git push origin :tagname
If for some reason you have a branch and a tag that are named the same (you shouldn't, but we're talking about a mistake here anyway), you can push with the following commands:
git push origin :refs/heads/branchname
git push origin :refs/tags/tagname
Releases compatible with Drupal 9 and later
Releases may be compatible with both Drupal 8, 9 and 10 at the same time using the core_version_requirement key in info.yml introduced in Drupal 8.7.7.
Drupal projects can now use semantic versioning for their release version numbers, and therefore do not need to prefix the release with the Drupal core major version number.
Therefore 9.x-… releases are not allowed on Drupal.org. Both semantically versioned releases and 8.x-… releases are compatible with Drupal 9 and later, provided the module's core_version_requirement specifies compatibility.
Switch to semantic versioning when possible. See Release naming conventions for more explanation of semantic versioning and how to switch.
Help improve this page
You can:
- Log in, click Edit, and edit this page
- Log in, click Discuss, update the Page status value, and suggest an improvement
- Log in and create a Documentation issue with your suggestion
