Backup and Migrate
Drupal 7 will no longer be supported after January 5, 2025. Learn more and find resources for Drupal 7 sites
The Backup and Migrate module simplifies the task of backing up and restoring Drupal databases or copying databases from one Drupal site to another. It supports gzip, bzip and zip compression as well as automatic scheduled backups.
This module dumps some or all database tables to a file downloaded or saved to a file on the server. It also restores from an uploaded or previously saved database dump. Choose which tables and data to backup. Cache data is excluded by default.
This documentation explains how to configure and install Backup and Migrate as part of a Community Media installation.
Enabling Backup and Migrate
- Navigate to Administer > Modules
- Select Backup and Migrate in the Other block
- Scroll to the bottom of the page and click Save Configuration
Configuring Backup and Migrate
Navigate to Administer > Configuration > System > Backup and Migrate
Download a backup of the default (Drupal) database by clicking Backup now. For occasional manual backups no further information is required.
Always download a backup prior to updating or installing modules.
Backup to Server
Create a Private directory to store backups on the server but prevent them being accessible via web browsers.
- Navigate to Administer > Configuration > Media > File System
- In the Private file system path field enter
sites/default/files/private - Click Save configuration
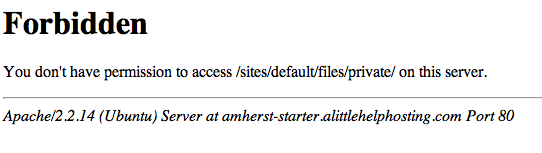
- To test that this new directory is private, and therefore all your backups are private, navigate to
EXAMPLE.COM/sites/default/files/private/ - Your browser should return a Forbidden response (see below) even if you are logged in as an administrator, which indicates your files are private.
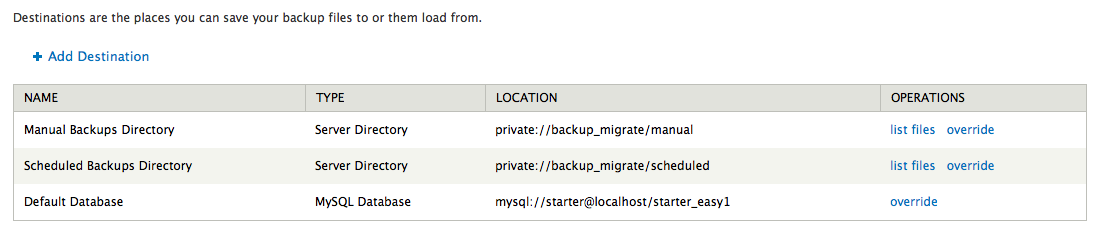
Navigate to Administer > Configuration > System > Backup and Migrate and then choose the Destinations tab. Two new directories for Manual and Scheduled backups will have been created, as shown in this screenshot:
Receive email confirmation of successful and/ or unsuccessful backups
- Navigate to Administer > Configuration > System > Backup and Migrate > Profiles
- Click Override in the Operations column of the Default Settings row.
- Click Advanced Options
- Change the default email address if you wish, then select both Send an email if backup succeeds and Send an email if backup fails
- You can also select Take site offline if you wish to make sure no one is using it while a backup is in progress
- Click Save profile
Schedule Weekly Backups
Weekly backups run when the next cron job runs.
- Navigate to Administer > Configuration > System > Backup and Migrate > Schedules
- Select Enabled
- In Schedule Name field enter "Weekly Backup"
- In Backup every field select "1 Weeks"
- Everything else can be left on default settings including the Destination field - "Scheduled Backups Directory"
- Click Save Schedule
Restoring from Backups
Check with an experienced admin before attempting to restore from backups.
Help improve this page
You can:
- Log in, click Edit, and edit this page
- Log in, click Discuss, update the Page status value, and suggest an improvement
- Log in and create a Documentation issue with your suggestion
