Gigya for Drupal 6
The Gigya Module for Drupal 6 provides a single API that aggregates authentication and social APIs from Facebook Connect, MySpace ID,
Z - Deprecated
Deprecated - Please see the module's documentation for more information.
 Come together with the global Drupal community in Rotterdam, 28 Sept – 1 Oct 2026. Sessions, contribution, connection, and Early Bird savings until 8 June.
The module can be configured from the Configuration>>Web services>>Gigya settings menu:
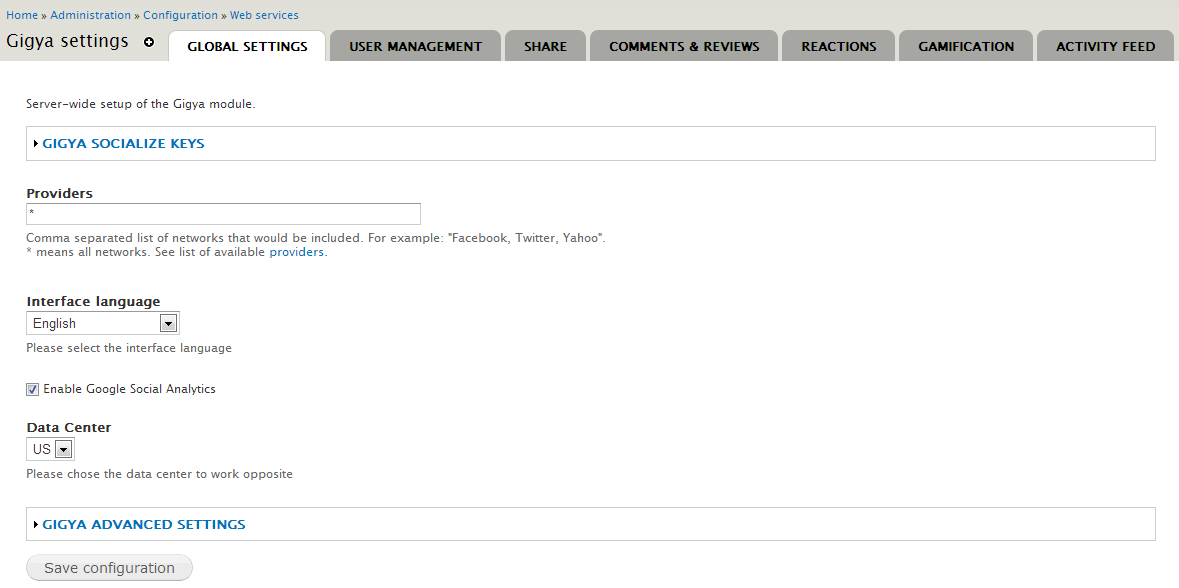
Learn more in Gigya documentation: Gigya Module Configuration.
The “Gigya Default Tokens” module is used for integration with the “Profile2” module and other text fields. You can set Gigya tokens as default values for text-fields, so Gigya’s user information can be integrated into every relevant text-field of your users’ profiles. This is done by Drupal tokens. For example, you can map the nickname that comes from the Gigya user info into a custom field named “Nickname”, that you have added to a custom 'profile2' profile used on your site.

Please refer to the Token module for more information about tokens http://drupal.org/project/token
All Gigya API calls that are initiated by the module go through relevant “drupal_alter” functions, so they can be further configured via custom coding. Please refer to Advanced Customization - Hooks for more information.
The Gigya Module for Drupal 6 provides a single API that aggregates authentication and social APIs from Facebook Connect, MySpace ID,
Deprecated - Please see the module's documentation for more information.
Drupal is a registered trademark of Dries Buytaert.
