On this page
Managing content
Drupal 7 will no longer be supported after January 5, 2025. Learn more and find resources for Drupal 7 sites
Adding content
This guide assumes that you have used the standard profile, when installing, which defines the two content types Basic Page and Article. (If you used the minimal profile, you need to define content types first.)
Before we begin: Make sure you are logged in as a user who has the right to create content – ask your system administrator if you are not sure; otherwise, some of the fields you need to select will not be visible.
Managing nodes
You can perform a variety of operations on one or more nodes. You can specify the nodes as published or unpublished, promoted to the front page or demoted, make sticky (stays at the top of lists) or not. You can also delete one or more nodes.
- Select Add content from the front page (either in the Navigation menu or one of the menus un the header).

- This brings up a screen asking what type of content you wish to add.
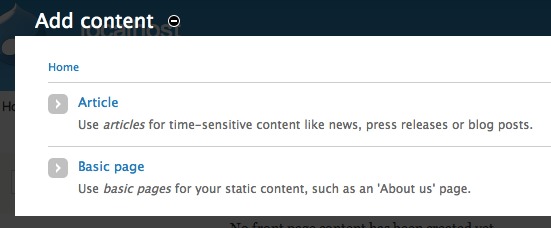
- Select Article. The only major difference between Basic Page and Article is that you have the ability to upload an image when creating an Article; a Basic Page is for a static page.
- A form will appear allowing you to enter information for your Article.
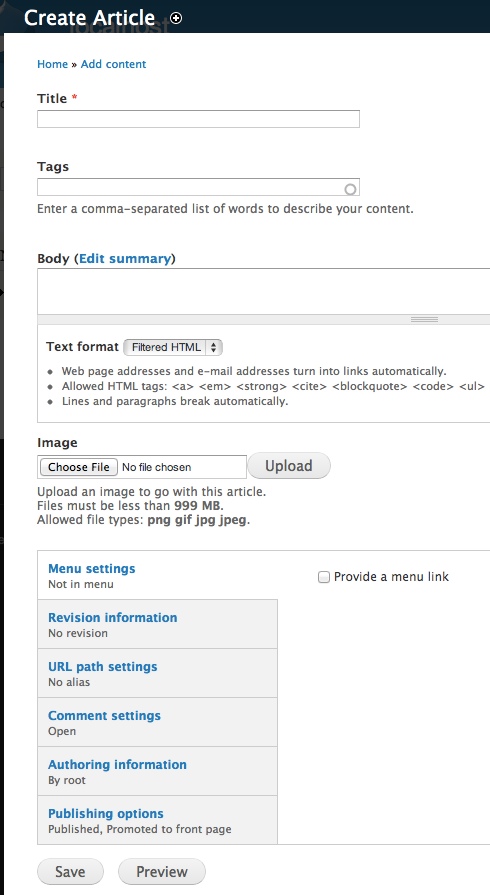
- Enter a Title for the page in the Title text box: for example, Test Article.
- In the Body area enter some text. If you have an already written block of text for your site, you can just cut and paste it into this area.
- Text can include limited (recommended) or full HTML markup. Generally, you are better off from a security standpoint to use the default (Filtered HTML).
- Click on the Publishing options link and check what options are selected there.
- Checking Published will make sure that the content gets published to the site as soon as it is Saved, while Promoted to front page will make sure that this content gets published on your site’s homepage. For content for your homepage, check both of these.
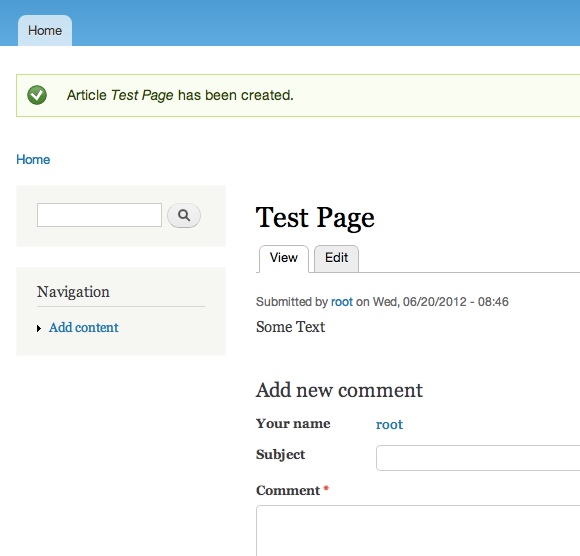
- Click the Save button.
- You should now see your post.
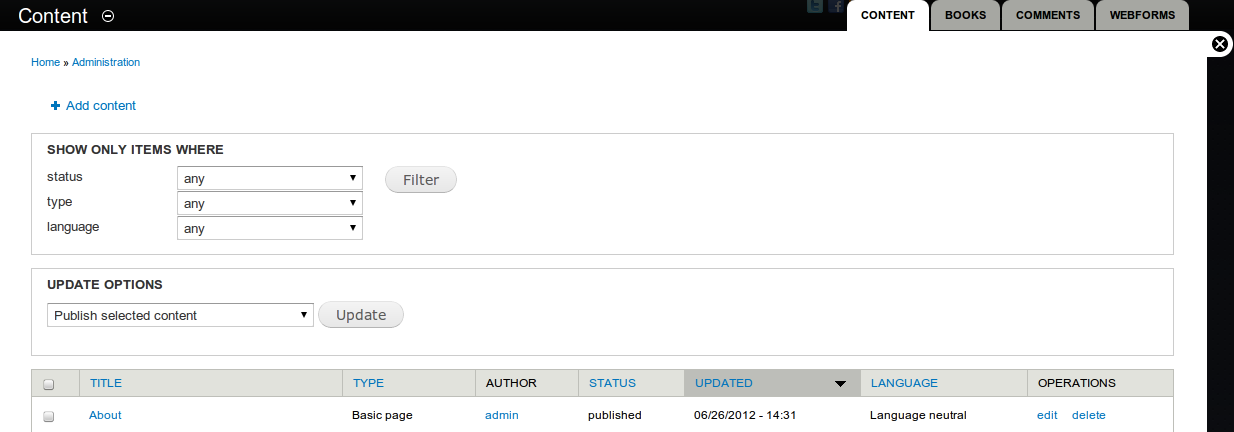
- Click Administer > Content management > Content
- If desired, filter the content displayed by its status, type or language as follows:
- Click status, type or language
- Beside the selected option, select the value for that option to be searched for
- Click Filter
- If a further restriction of the search results is desired, another option can be selected, its value specified, and the Refine button clicked
- Content to be administered can be selected by using the box at the left of each row
- To select all content, click on the box to the left of Title
- Select the administrative update option to perform from the select box in the update options area, eg Demote from front page
- Click Update
For information on setting permissions for nodes, see the Managing Users section.
Note: when you add new content to the site (without any further configuration), it will be displayed your homepage chronologically (newest first). You might want to create Views to manage the display and organization of your content. See https://www.drupal.org/project/views for information on views.
Managing comments
You can display a list view of all comments. From the list you can choose to unpublish or delete one or more comments.
- Navigate to the comments management section of your site administration.
- Click Content and select the Comments tab.
- Select one or more comments.
- From the dropdown list select Unpublish or Delete.
- Click Update.
Help improve this page
You can:
- Log in, click Edit, and edit this page
- Log in, click Discuss, update the Page status value, and suggest an improvement
- Log in and create a Documentation issue with your suggestion
