
Using menu_minipanel module to create an editor-manageable mega-menu

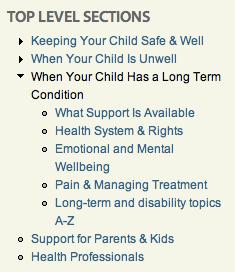
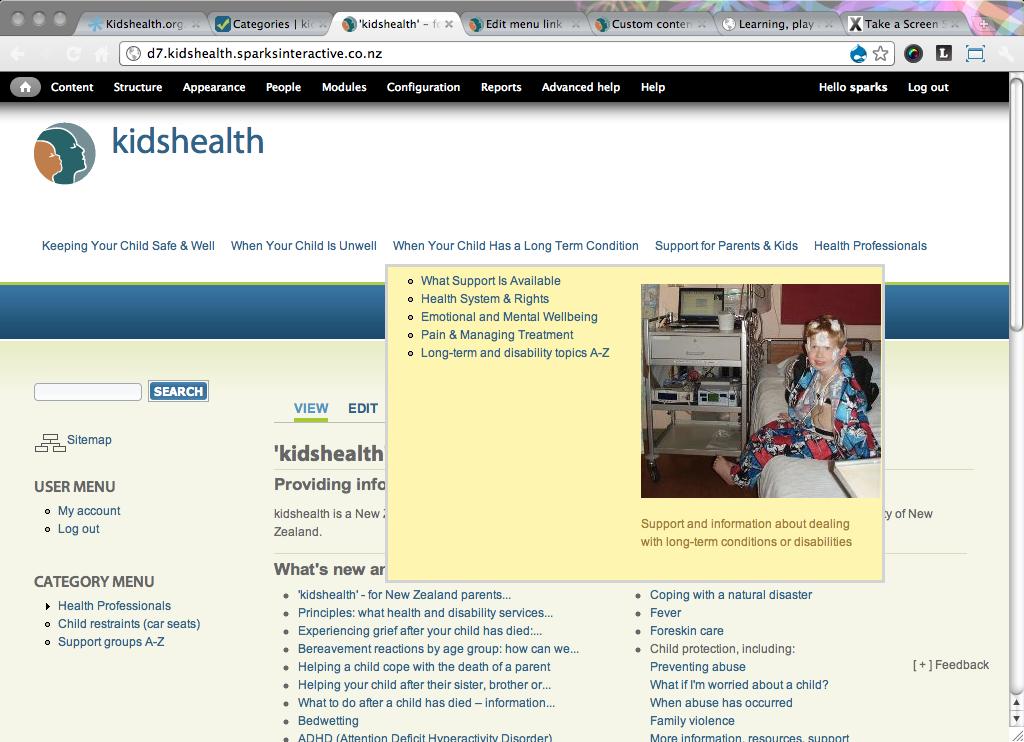
Here's the effect we are building. The site pictured is entirely unthemed so far (based on Acquia Marina for now), we have imported a lot of the content and are now doing the structure. The visual polishing will come later.
The feature request is for some managed mega-menus, with arbitrary rich editor-managed content to come up as part of the top-level menu.
A normal hierarchical menu manages most of the content structure, and we will provide a drop-down to list the second level items, and more.
Get the modules
The tool to use is menu_minipanels, plus a collection of other useful bits : panels and menublock modules, with their dependencies, like ctools.
Install those per their instructions.
For this example, our menu was built in a custom menu root (not Main menu) so I used a patch this issue queue that allows us to use non "main" menus for this job. You won't need it if your main menu is "Main menu". Instructions here are for Drupal7 rc2
Get your menu hierarchy right.
This will be managed by editors from now on, so use the normal content management tools as much as possible. In this case, the menu tree would look like :
Position the menu block in the top row of your theme using the block administration page.

Now we start getting special.
Prepare the content that will go into the mini-panel.
We are looking ahead here a little, but it helps to build what we want from the bottom up. (Otherwise there is a lot more screen-swapping)
Create a menu block that only shows a slice of the menu.
So we will start by preparing the list of menu items that will show up inside the hover panel. To do this, use the menu_block module. On the blocks admin page (/admin/structure/block) the menu_block module provides a new local action called "add menu block". Find it at the top of the block page.
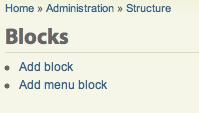
menu_block is a handy utility we can use to expose just certain sections of selected menu trees, maybe starting or finishing at a specific depth. We will use it to just expose the immediate children of a chosen item.
Using the method I use here, there is no automatic internal connection between the menu item I am attaching the effect to and the content it displays. I am displaying the individual child items of the parent item, but that connection is being made manually as I choose the items I edit. This gives us wide freedom with what shows where, at the cost of a little more hand-management.
When adding a new menu_block, switch to 'Advanced" immediately. Give it some good description in the "Administrative title" area. The important changes are to set the "Fixed parent item" (at the bottom of the primary settings) and depth of just one. This will produce a block that lists just a single horizontal slice of our target menu. In this case, the immediate child items of the top level section we are enhancing.
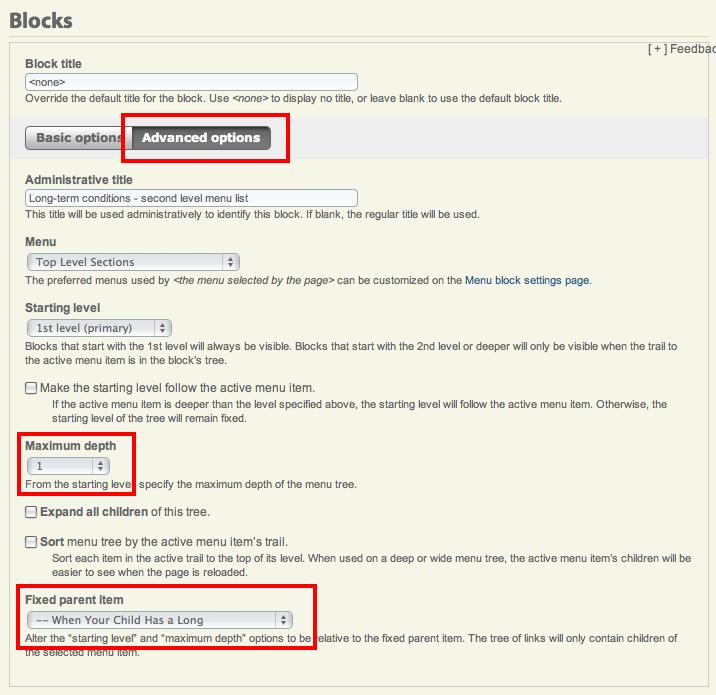
Do not enable or place the block anywhere. We will position it in our panel later.
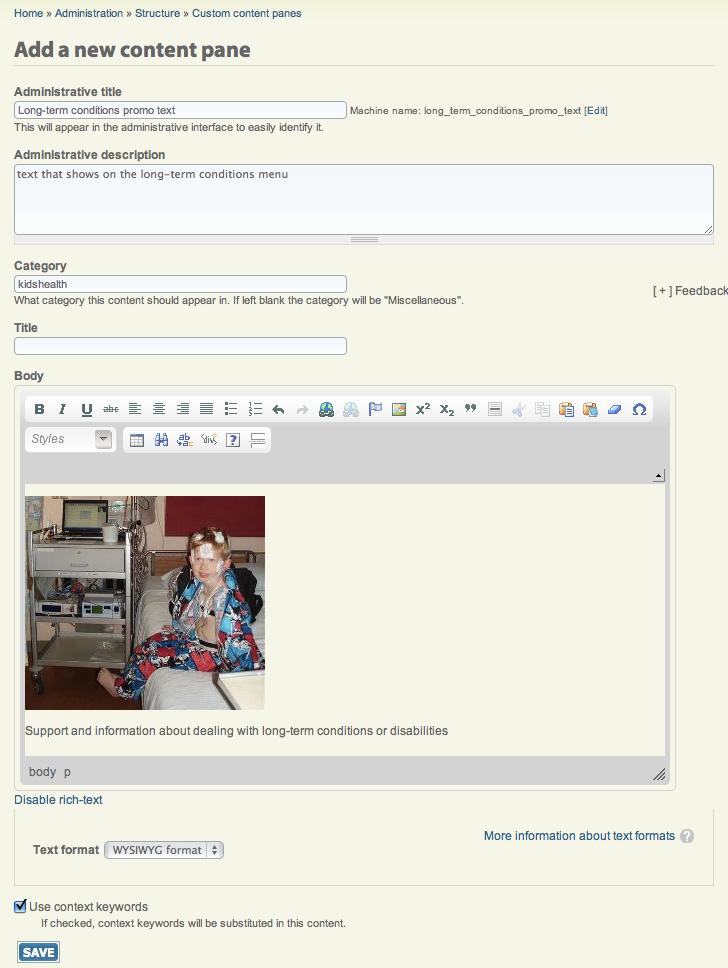
Create the custom content pane.
This is a small textarea we will use to hold the arbitrary text and markup.
This can be done in-place through the panels editor also, but it's handy to know this direct method also, as it's several clicks faster, allows us to label the text, and you can direct editors directly to it without getting them lost in the panels UI.
Inside "Administration > Structure" panels provides us with an item "Custom content panes" ( /admin/structure/ctools-content )
There you can "Add" what we need.
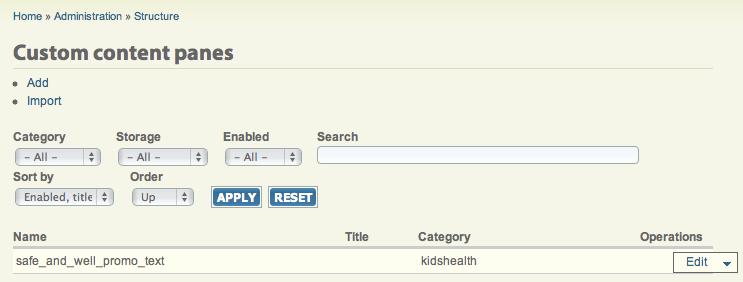
Add whatever you like here. Again, descriptive text to describe it is important. I'm using this method because it means I can give the editors a full WYSIWYG to play with. If you have no WYSIWYG, you'll see it a little simpler.
Alternatively, I imagine you can avoid the "Custom content pane" method and just make a node that contains your content. Later on we can embed individual nodes into the hover pane just as easily. You could even skip this and just place the teaser of the node for the appropriate menu link there!
But now it's time to actually build a panel to hold our two columns of content.
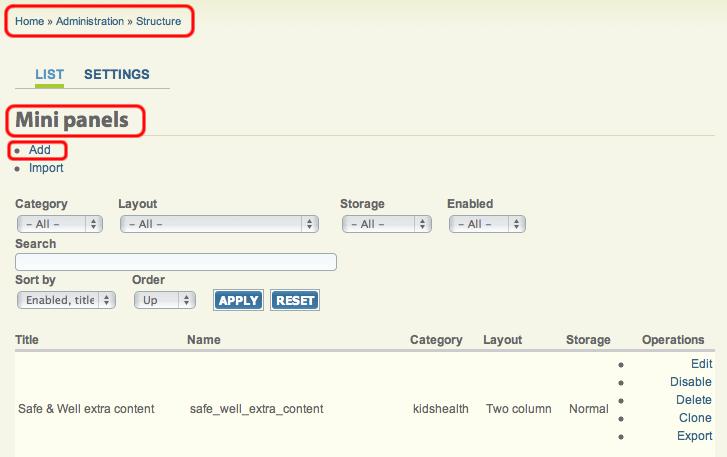
Create the new mini-panel to render the hover content.
Each top level hover panel may be different, and will contain different content, so each is created individually.
Navigate to "Structure" > "Mini panels" and "Add" one.
It helps to fill in the descriptive text fields as well as you can. I use the 'category' field to label custom elements with the name of the project.
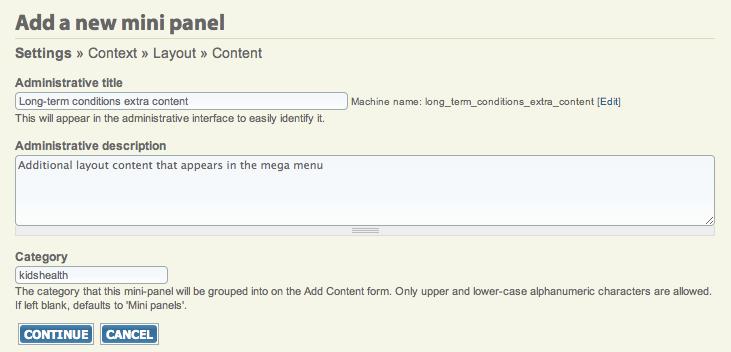
WARNING: do NOT make the administrative title too long however! The 'Machine name' cannot be longer than 32 characters. In this picture mine is, and it caused fatal problems with block administration later. So, don't do that.
Continue.
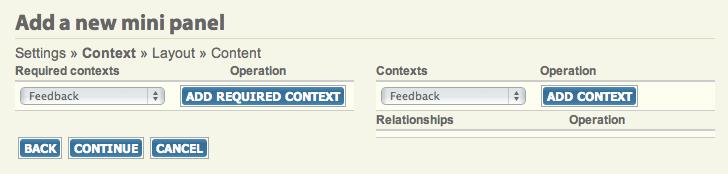
Continue through the next step which configures for "Context", we do nothing here.
For the layouts, I'll use just two columns for now. Select what you want and "continue".

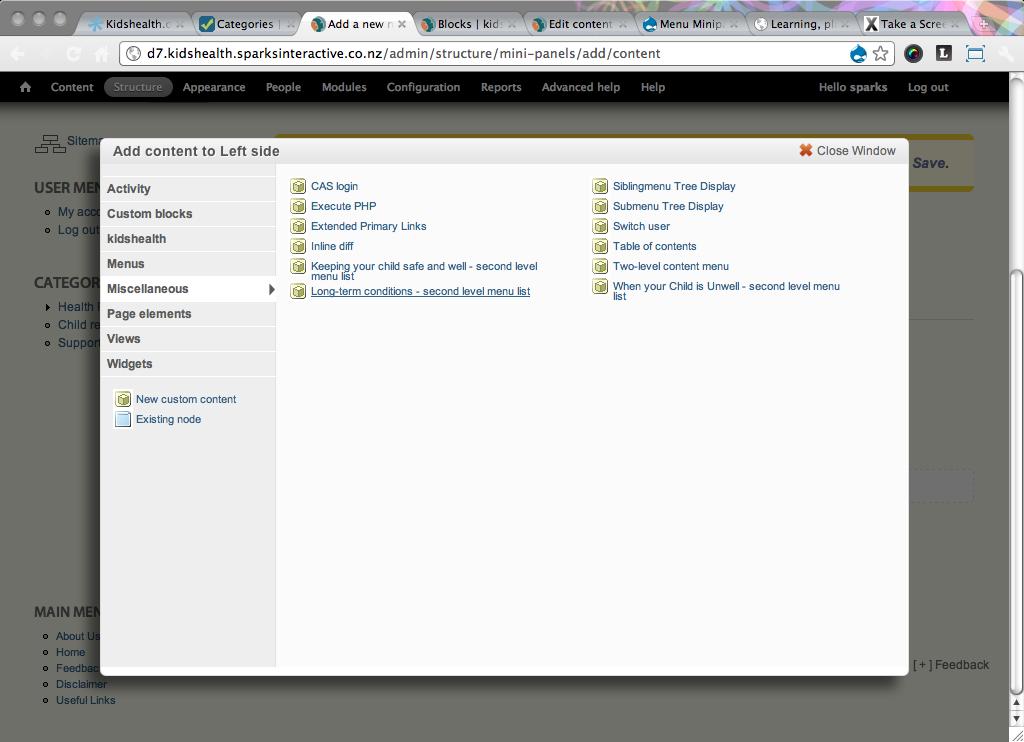
Add content to the two columns.
Finally we get to add content. Click the "cog" icon in the left column, and "Add content". From the list of available panes, find the menu_block we created earlier under the "Miscellaneous" section.
In order to get no title in this pane, I found I had to select "Override title" and leave it blank here when saving.
Similarly, you can add our custom content text to the right side now. If you tagged it with the name of your project (like I did - "kidshealth") it will be easy to find. Otherwise, go hunting through the sections.
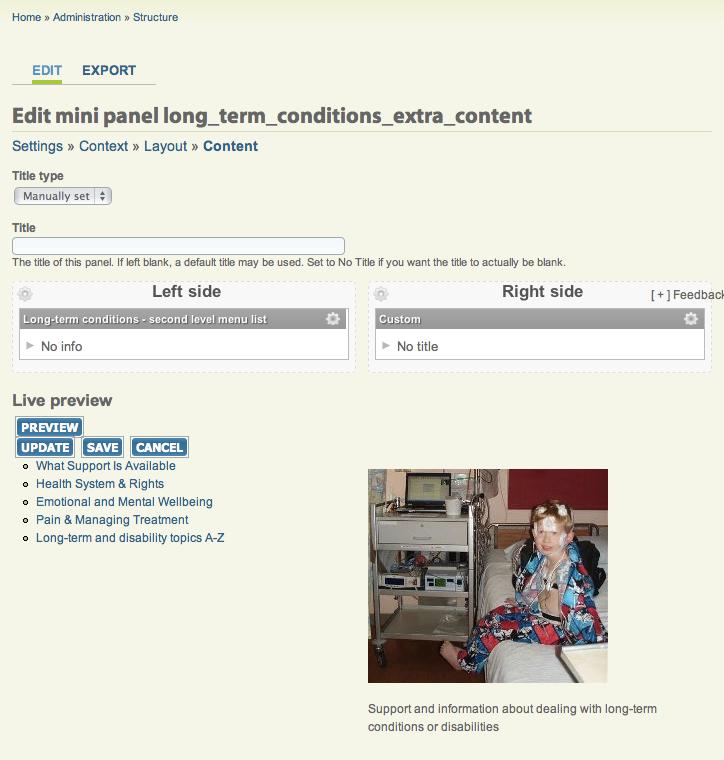
Once you have content in the two sections, you can preview. Only one step to go.
Attach this new mini panel to show up as a menu hover
Last step!
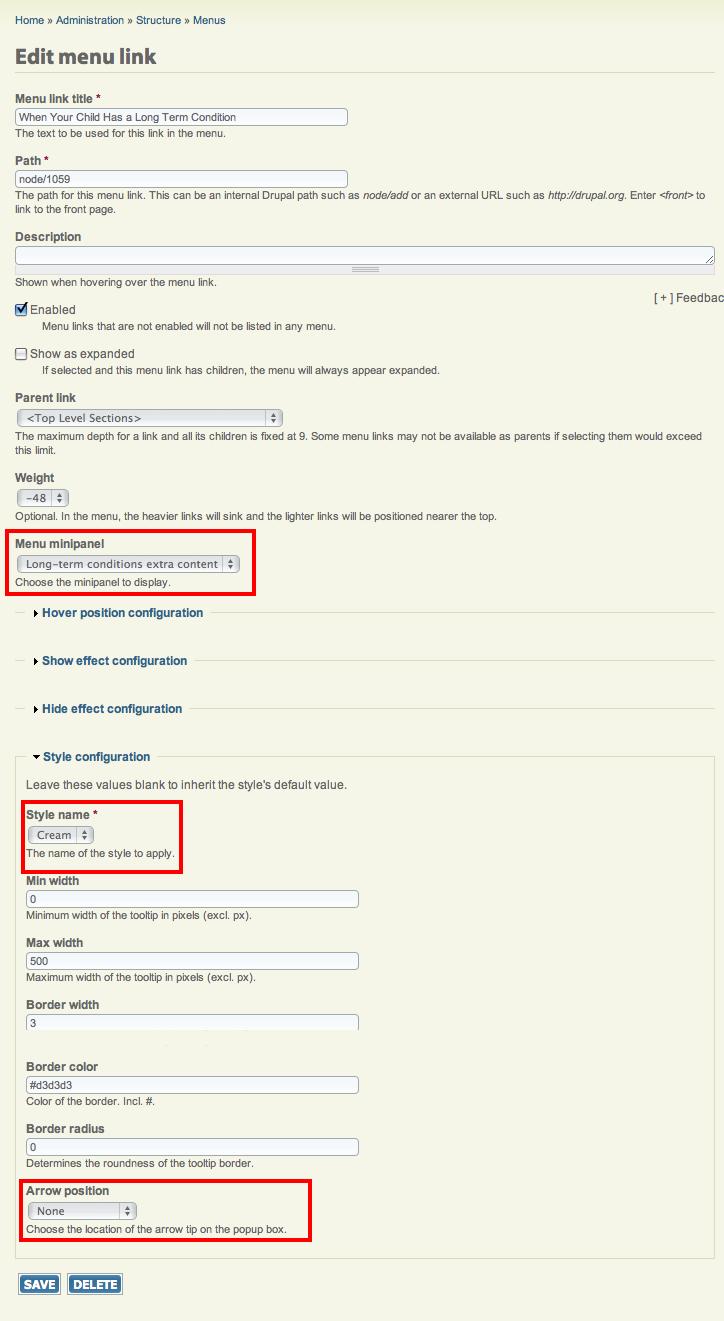
Find your way to the configuration screen for the menu item that we want to enhance. In Administration > Structure > Menus > {menuname} I have the target menu item. Here is where menu_minipanel adds all its settings.
The only important one is to choose our new minipanel from the list. I also changed the appearance a little, and there are a large number of additional settings you can play with.
Done
Hovering over our top-level menu item now should show the whole panel. We can now start adjusting the actual content and start working on the theme to make it look like we want.
Going forward
From now on, if editors add content to the right menus, those pages will show up where expected. If they need to adjust the promo text, they can do it with appropriate edit rights Ð we don't have to give them full site-structure admin.


