 Come together with the global Drupal community in Rotterdam, 28 Sept – 1 Oct 2026. Sessions, contribution, connection, and Early Bird savings until 8 June.
Client configuration
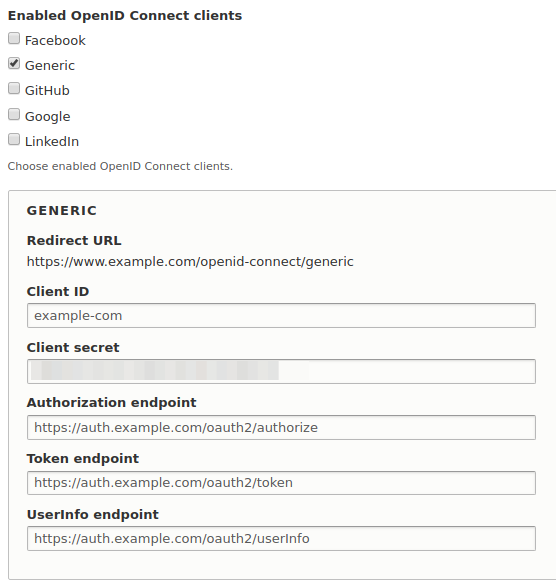
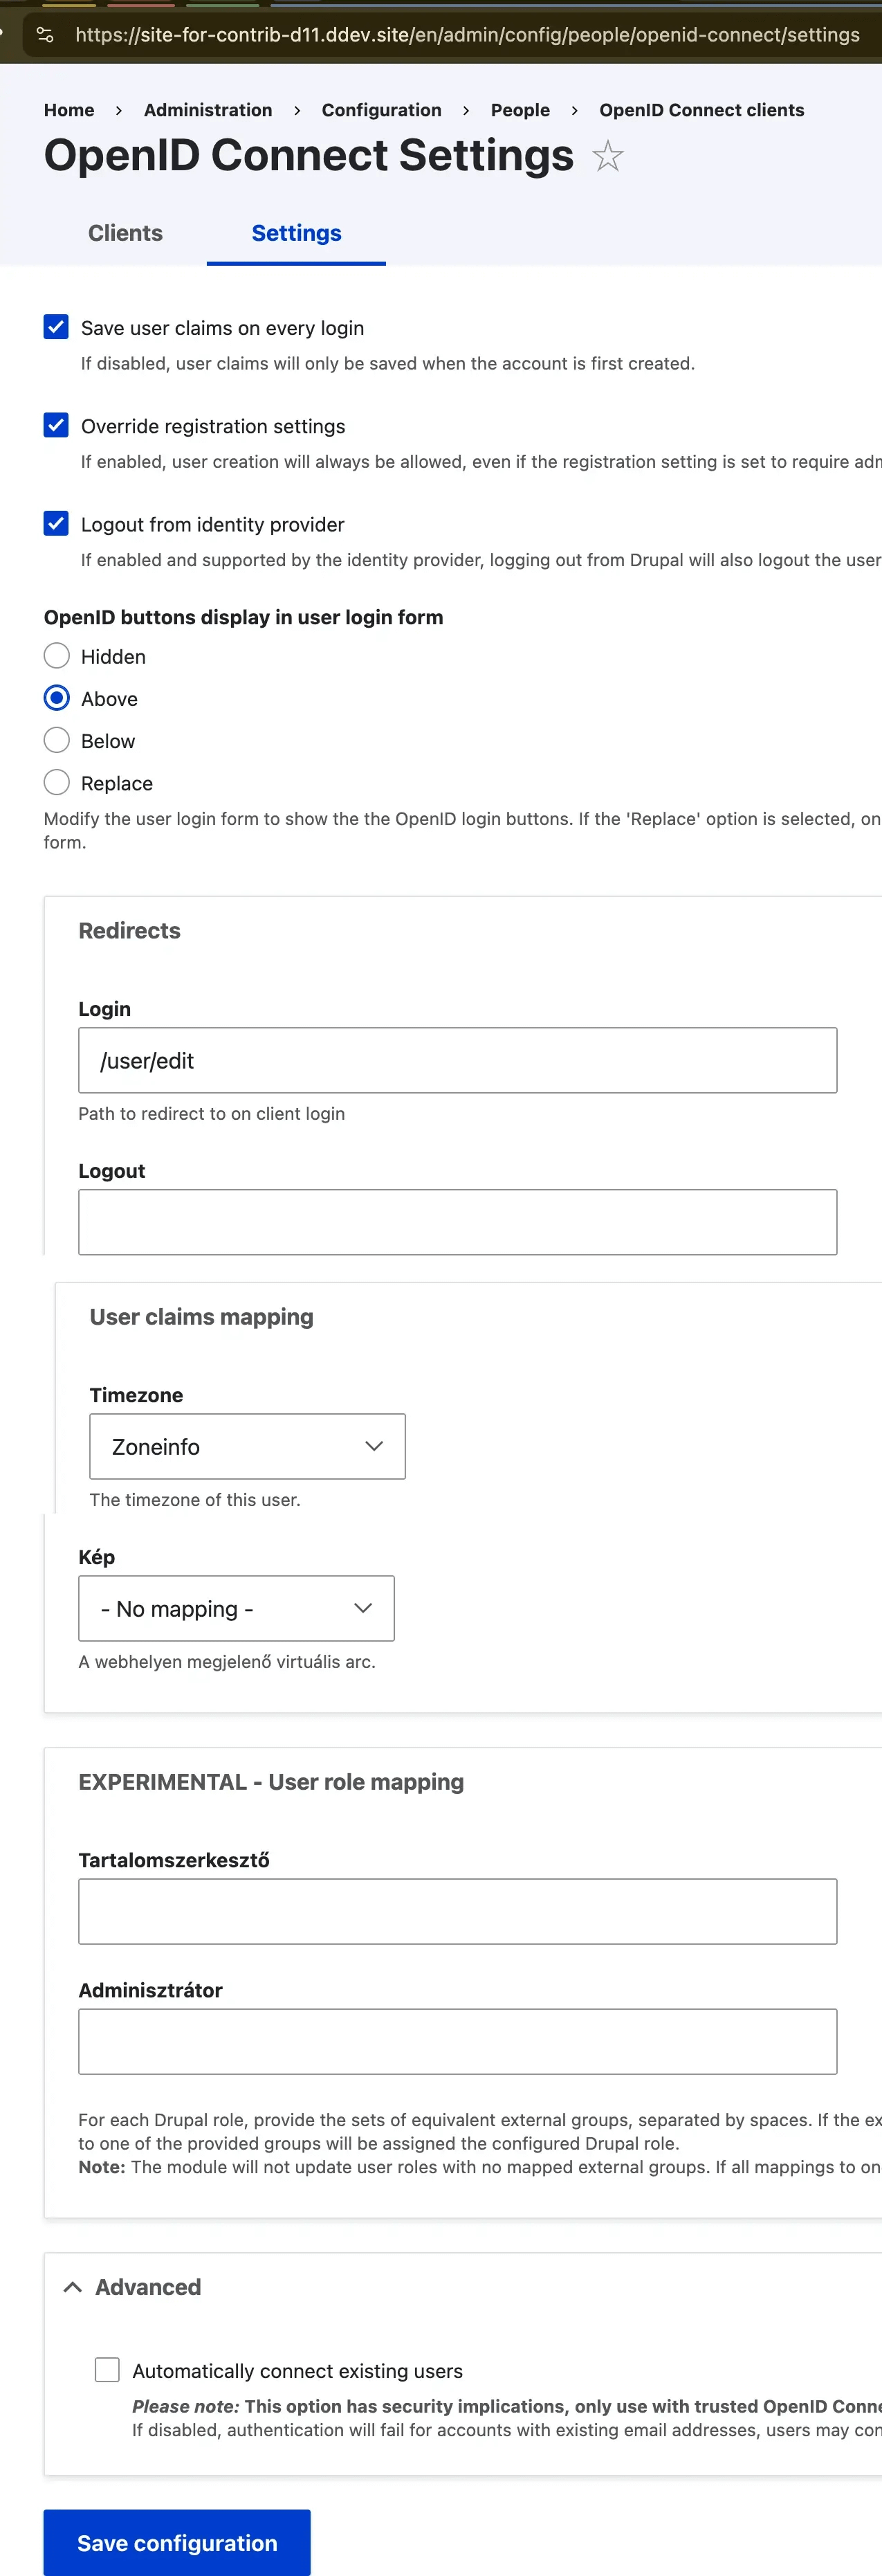
The OpenID Connect client configuration options are available at Administration » Configuration » People » OpenID Connect.
You can choose to enable one or more of the bundled authentication clients for Google, Facebook, LinkedIn and Github, and/or use the additional generic client to specify a custom authentication server.
As the OpenID Connect module allows to add further customized client plugins, you may have additional clients to choose from.
On this page
- Login with Google
- Login with Facebook
- Login with LinkedIn
- Login with Github
- Generic client
- Custom clients
1 Login with Google
In order to use Google as a login provider, you must register your client site at the Google Developers Console: https://console.developers.google.com
Google has to be able to ping your client site's host when you are defining the URLs. If you don't have your site deployed yet, you can use any existing hostname (e.g. example.com) and point it to your local installation in your local webserver's hosts file.
Use http://example.com/openid-connect/google as the authorized redirect URL (where example.com is your site's base path).
Select 'Library' from the side menu, and enable the following two APIs: Google+ API and Identity Toolkit API.
Select 'Credentials' from the side menu, and from the 'OAuth' section choose 'Create a new client ID'
Use the client ID and client secret when configuring your client (covered later in this document).
2 Login with Facebook
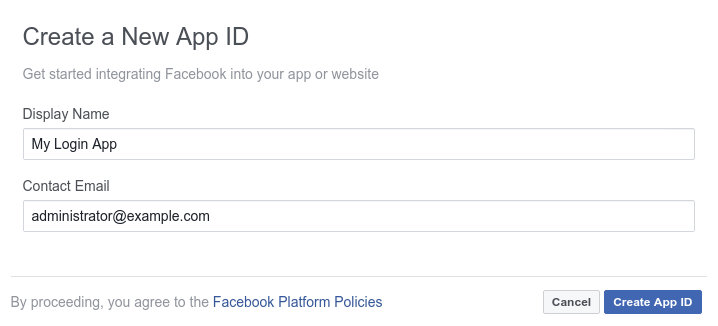
In order to use Facebook as login provider, you must create a Facebook app with the Facebook login feature.
2.1 Setup a Facebook app for login
- Go to facebook for developers, and find the My Apps menu item in the top menu. Add a new app and fill in the basic information:
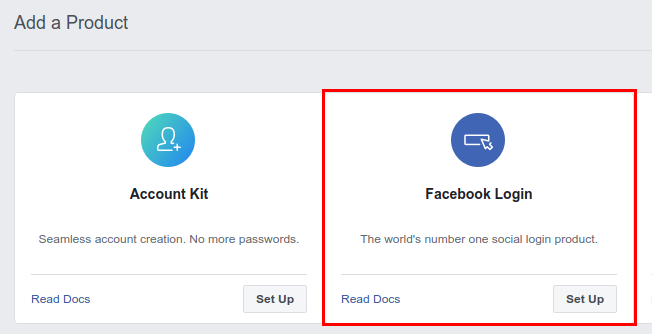
- On your app's Dashboard, find the Add a Product section and choose Facebook Login:
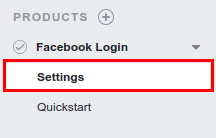
- Find and open the PRODUCTS » Facebook Login » Settings page in the left side navigation menu:
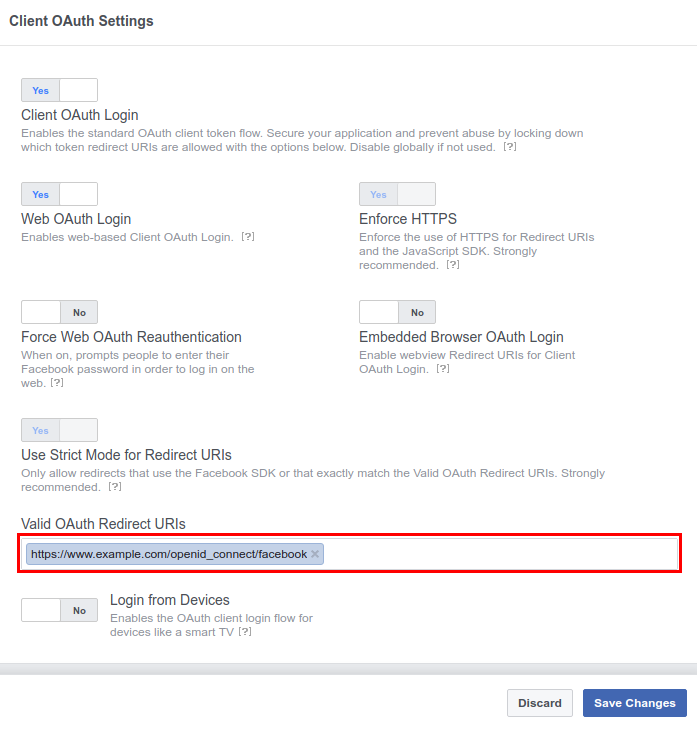
- Add your Drupal site's Valid OAuth Redirect URL and save your changes. The redirect URL by default is the base URL of your Drupal site and the URI /openid_connect/facebook.
So if your Drupal site is available at https://www.example.com, the full URL would be https://www.example.com/openid_connect/facebook:
- Find and open the Settings » Basic page in the left side navigation menu:
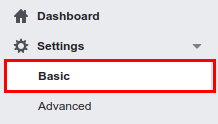
- This page contains your App ID and your App Secret. We will require both values later when setting up the OpenID Connect Facebook client in your Drupal site. Additionally, you need to add your App Domains and a valid Privacy Policy URL for enabling the Facebook app. Fill in both values:

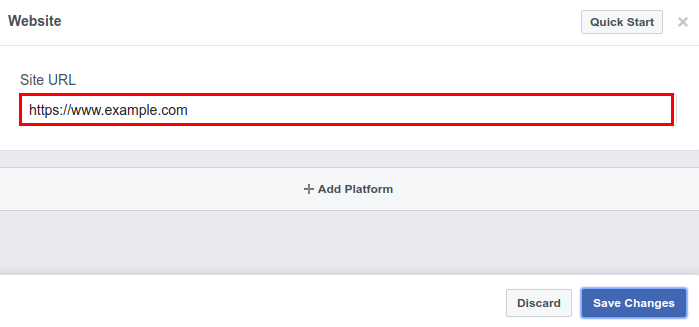
- Scroll down, and add Website as platform, fill in the URL to your Drupal site and save your settings:


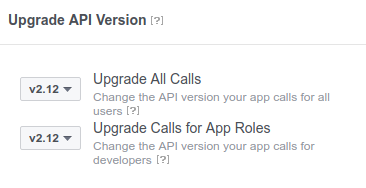
- Find and open the Settings » Advanced page in the left side navigation menu. Note down the API Version shown for your Facebook App:
You may optionally also want to alter some settings as the Socials Discovery.
- Enable your app by using the switch in the upper header menu of your app:

2.2 Setup the OpenID Connect Facebook client
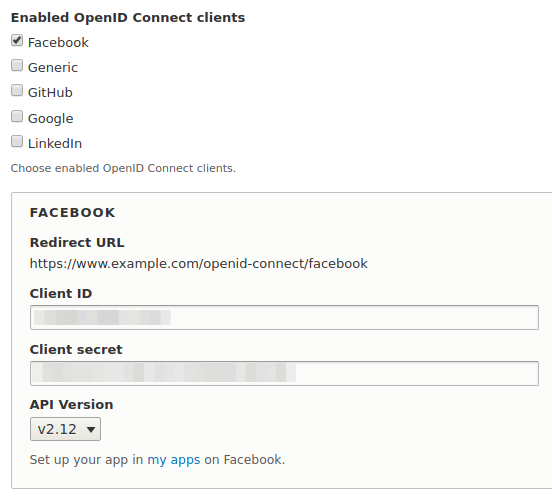
In your Drupal site, navigate to Administration » Configuration » People » OpenID Connect and enable the Facebook OpenID Connect client.
Fill in the Client ID (your Facebook App ID), the Client secret (your Facebook App Secret), and the API version used by your Facebook app.
3 Login with LinkedIn
4 Login with GitHub
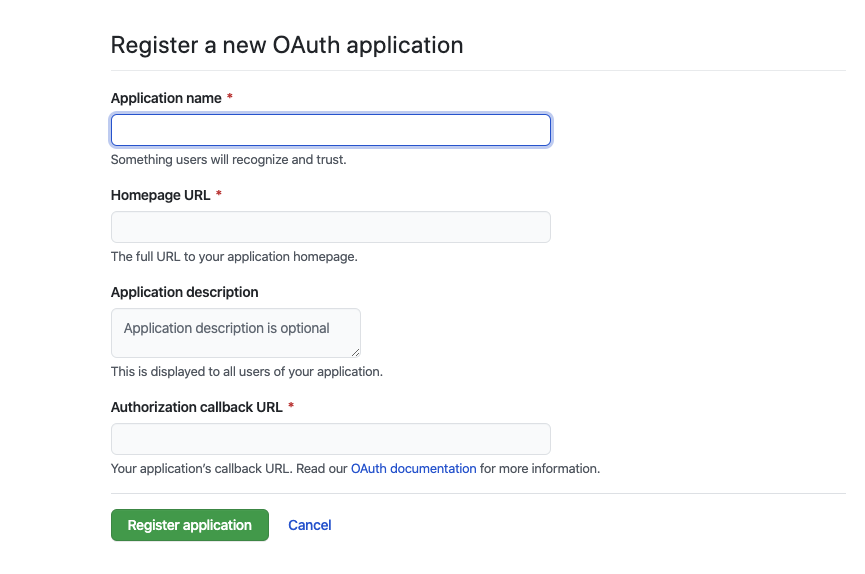
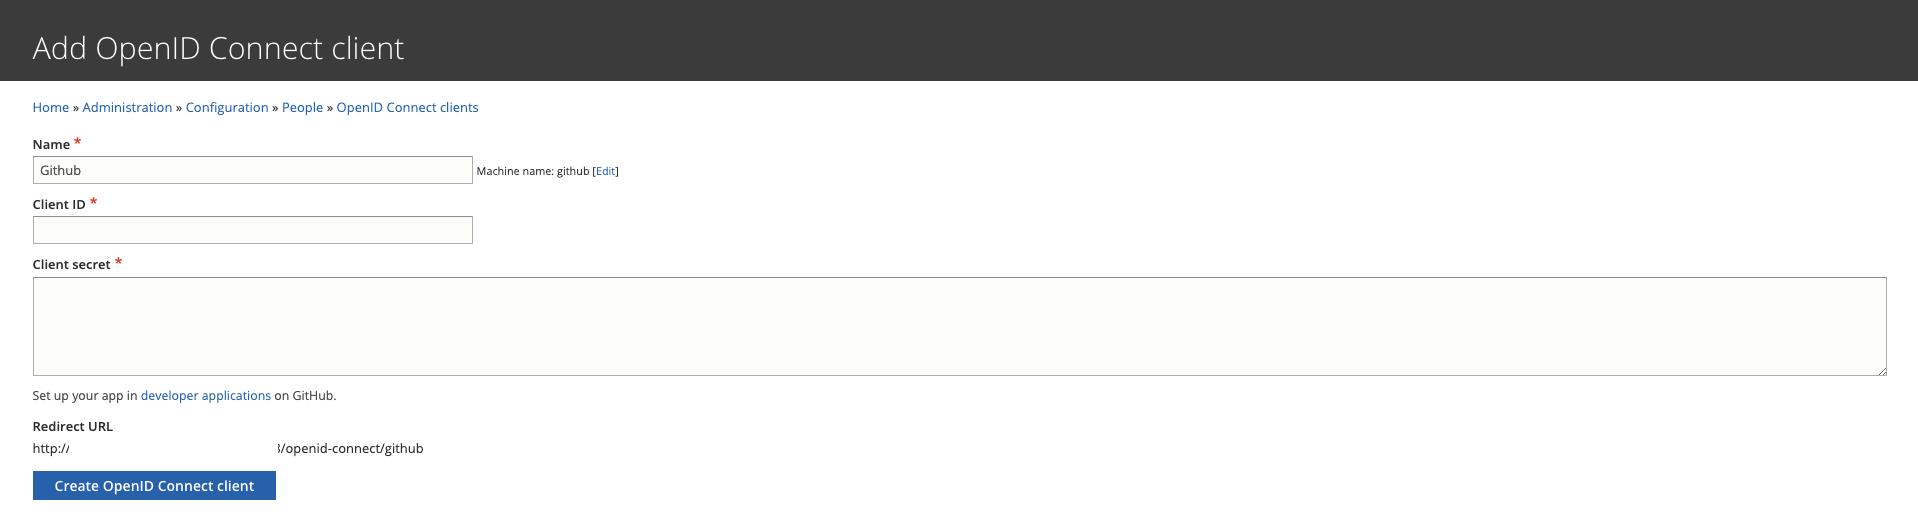
In order to use Github as login provider, you must create a github app at https://github.com/settings/developers
Fill callback URL is Openid connect client redirect URL.
In your Drupal site, navigate to Administration » Configuration » People » OpenID Connect and enable the Github OpenID Connect client.
Fill in the Client ID (your github App ID), the Client secret (your Github App Secret), and the API version used by your Github app.
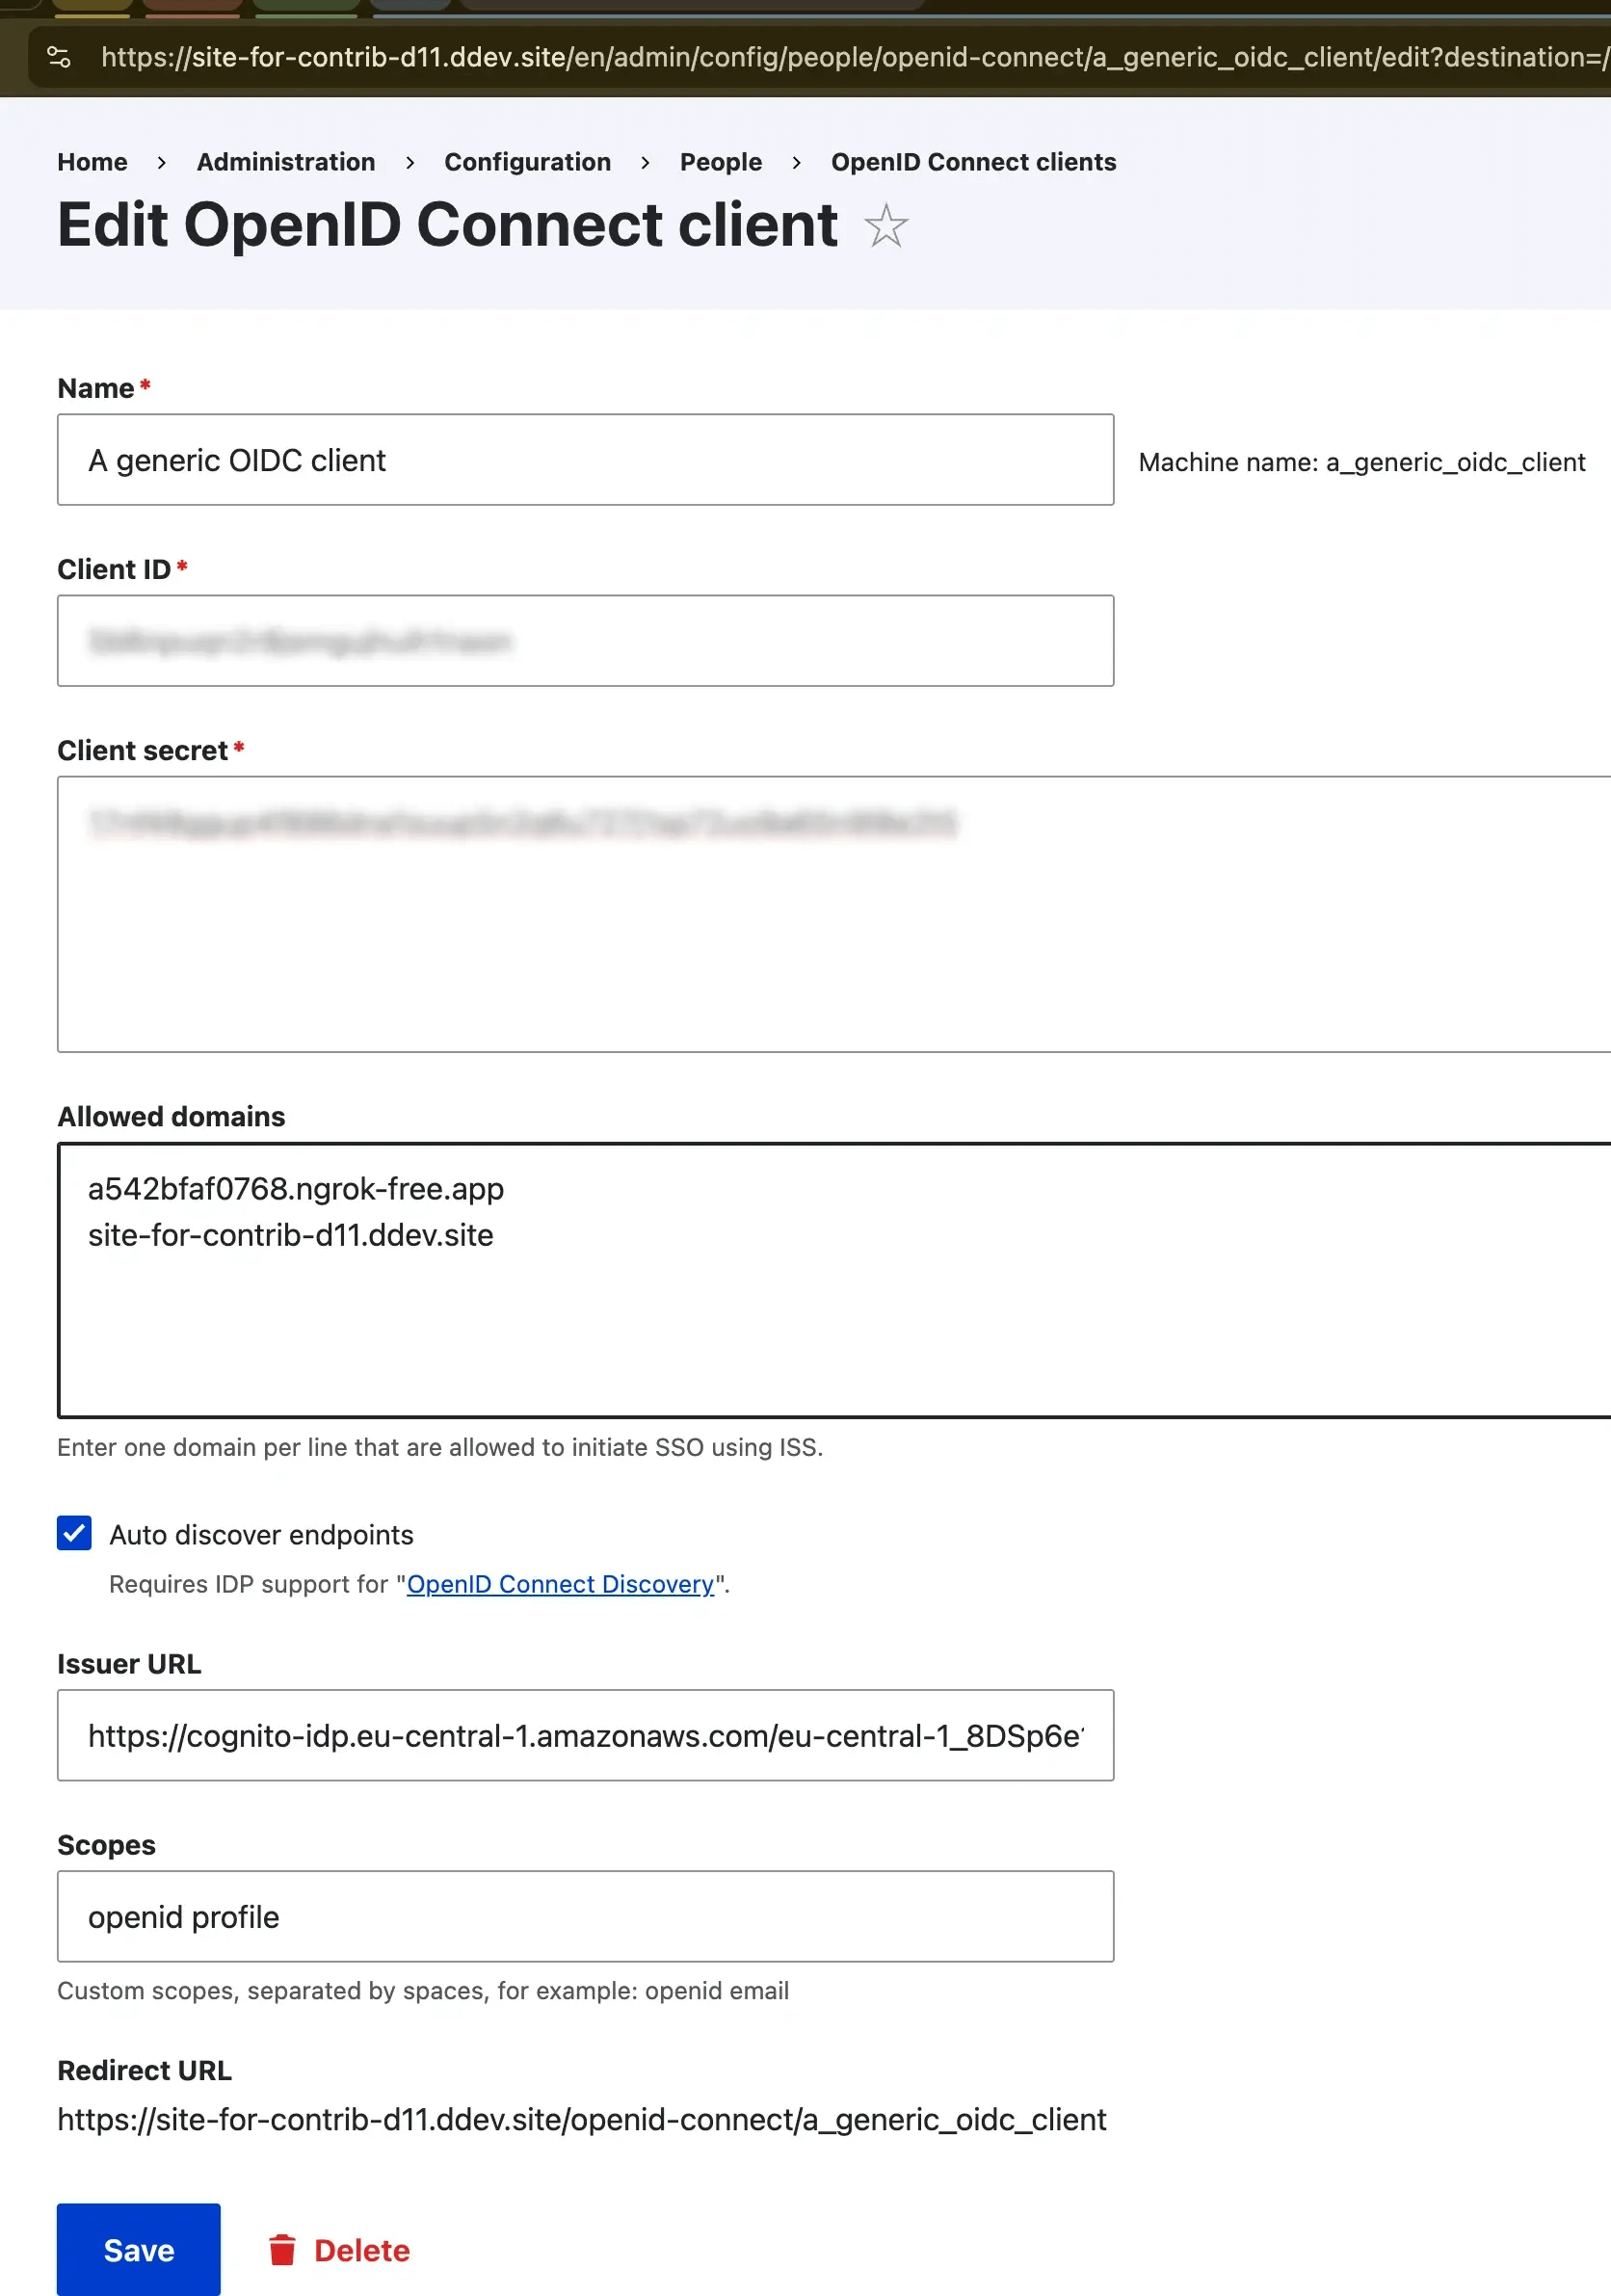
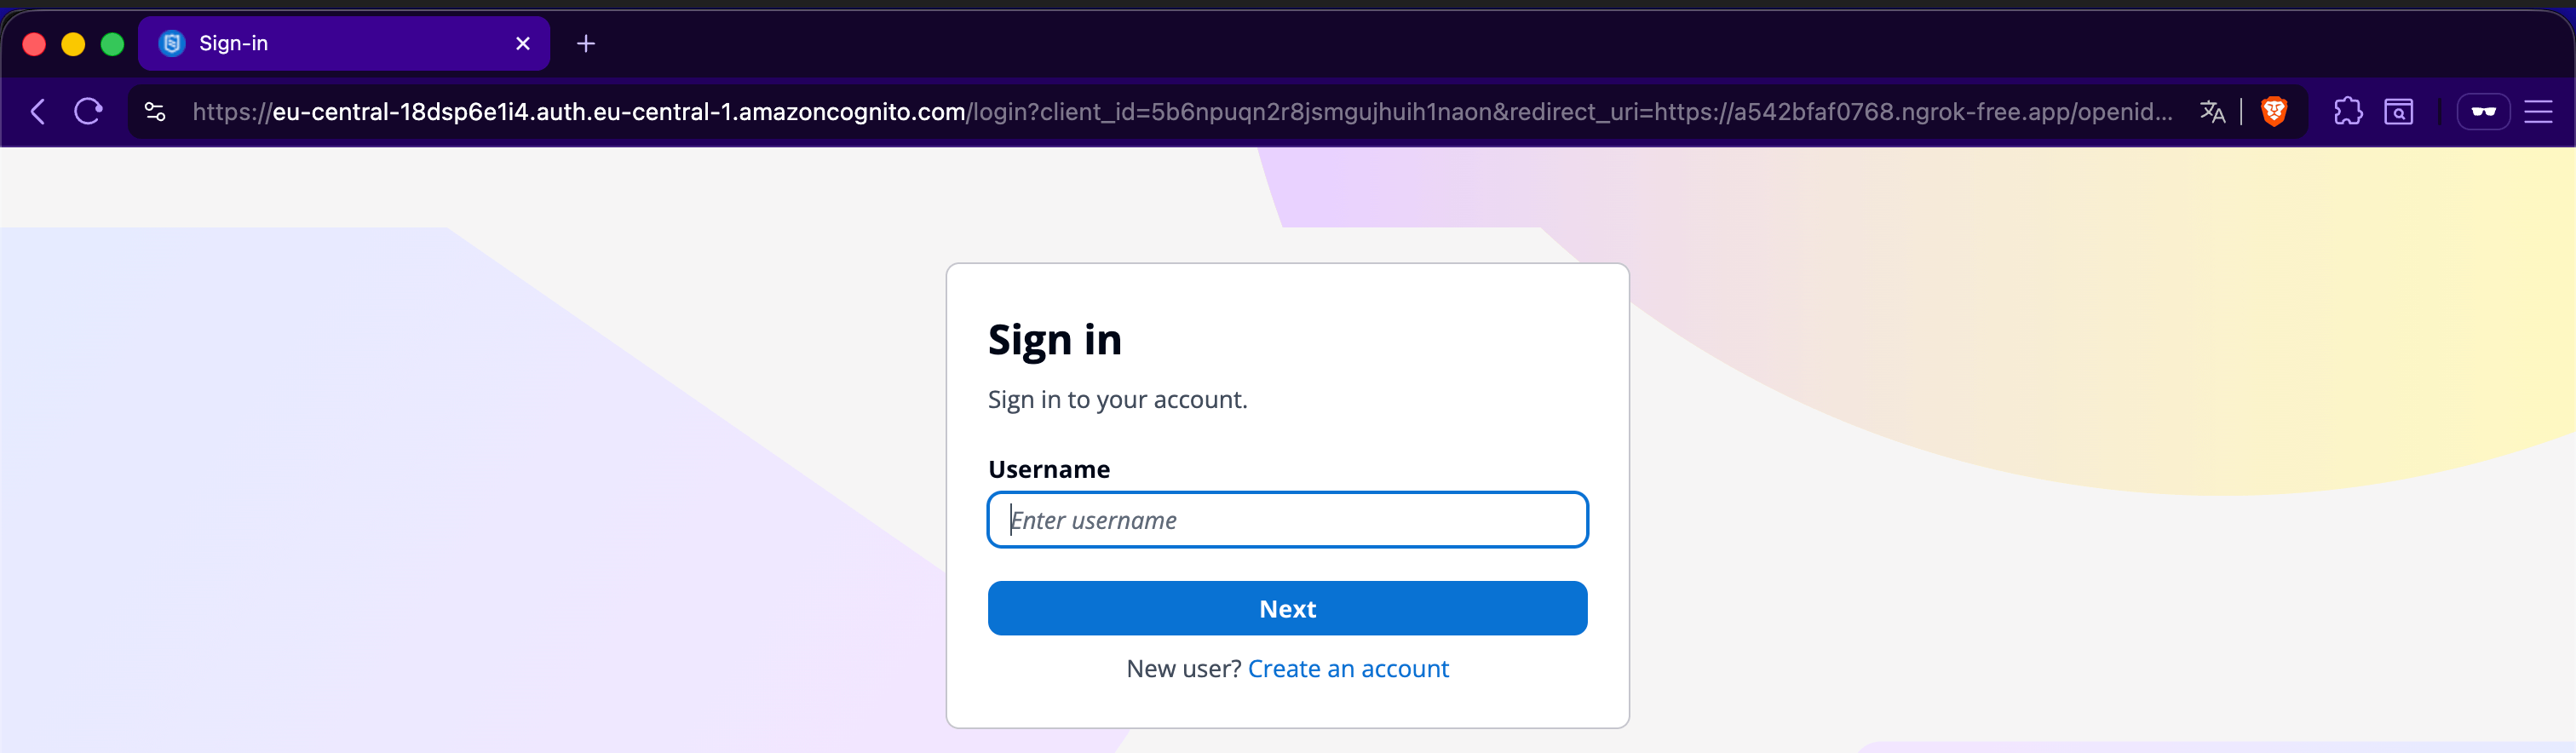
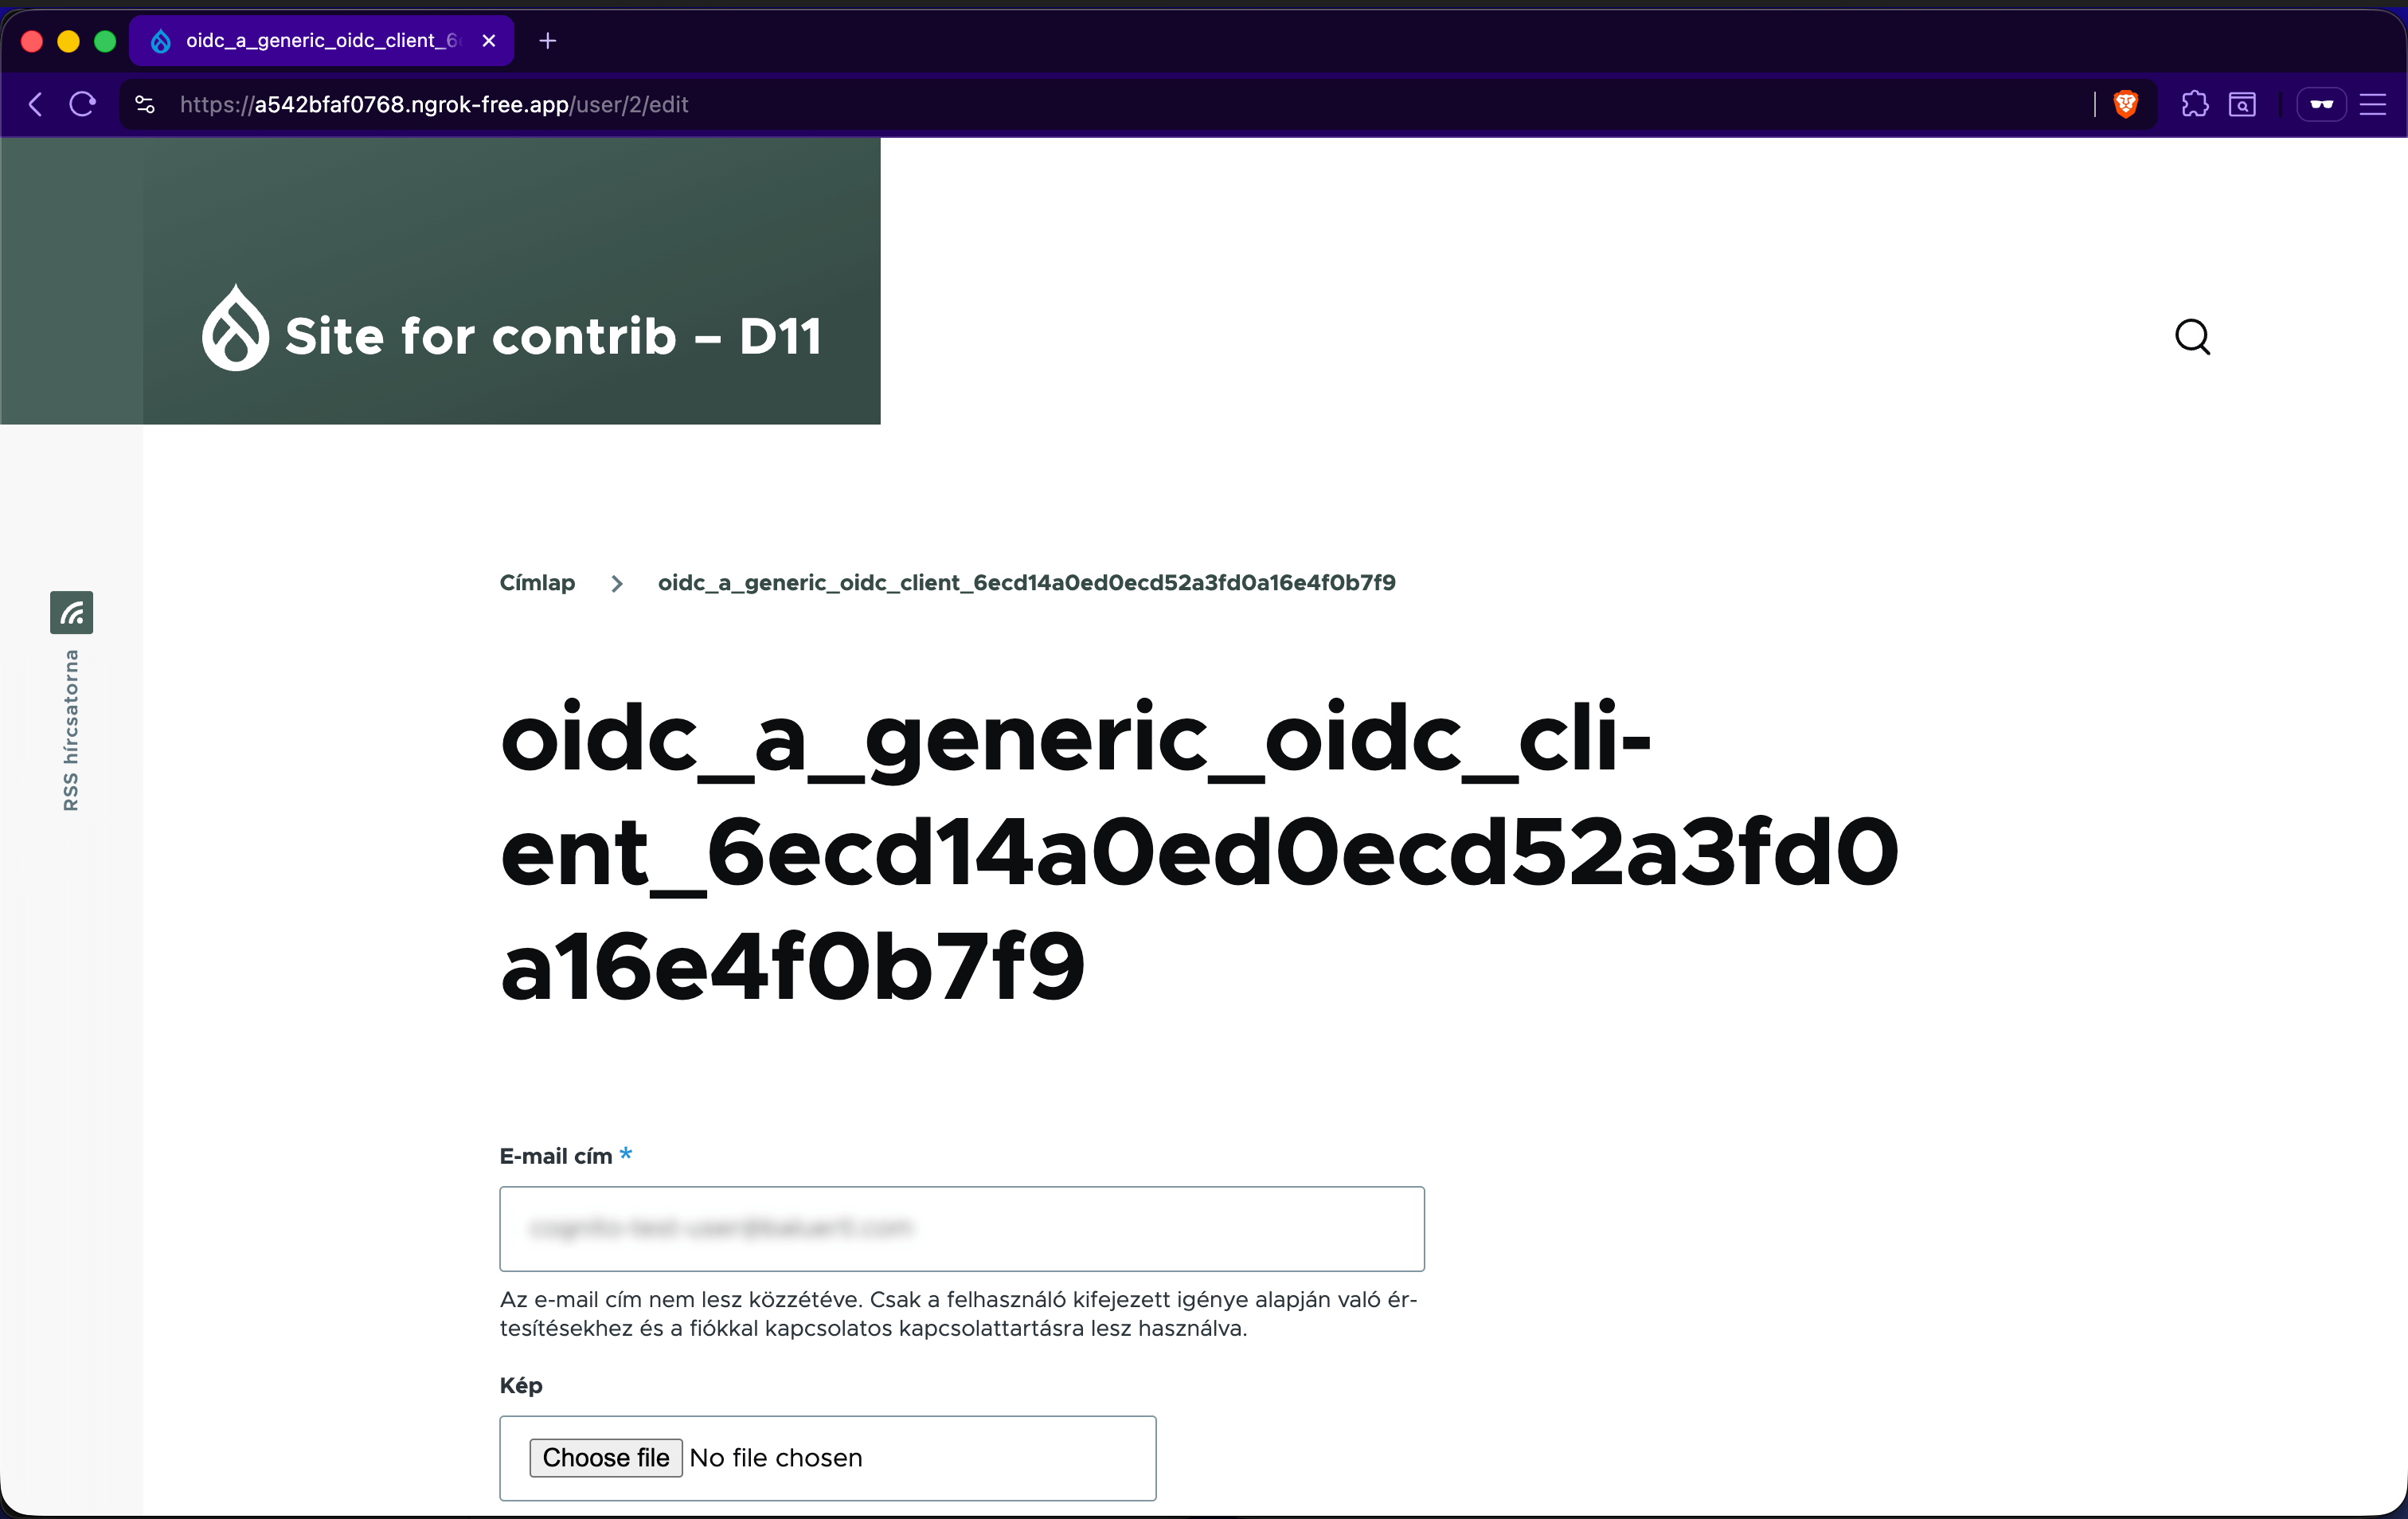
5 Generic client
The generic client allows you to specify the OpenID Connect/OAuth2 endpoints of your authentication server. For example, you can use the Generic client to login to your Drupal client site by having a Drupal authentication provider site powered by oauth2_server or PHP sites powered by oauth2-server-php.
Other authentication servers supporting OpenID Connect/OAuth2 may work as well to login to your Drupal site by using the Generic client.
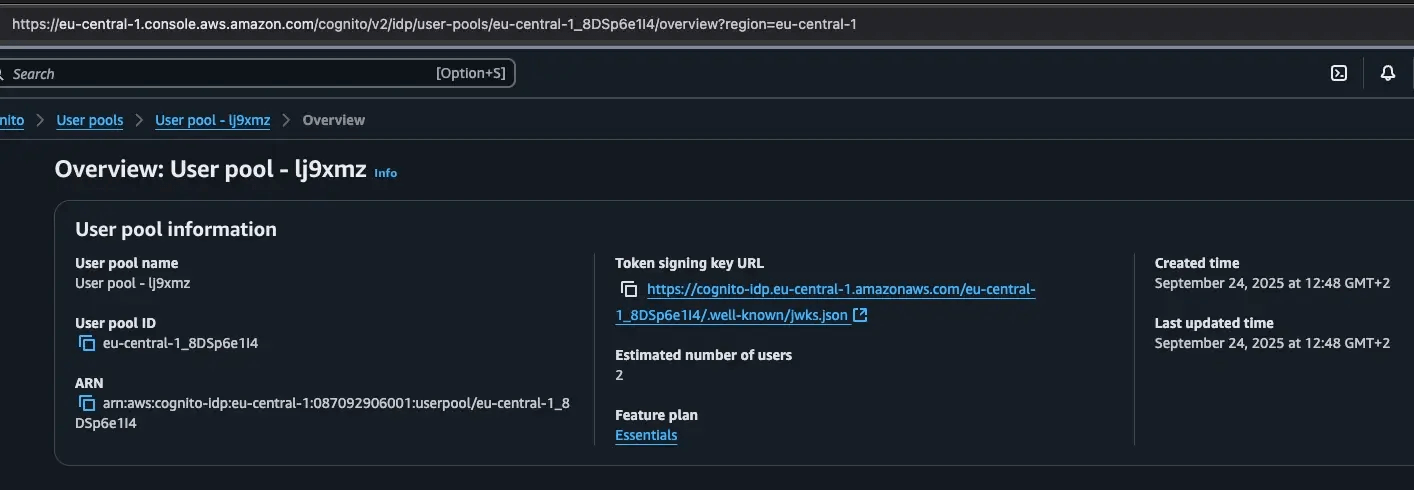
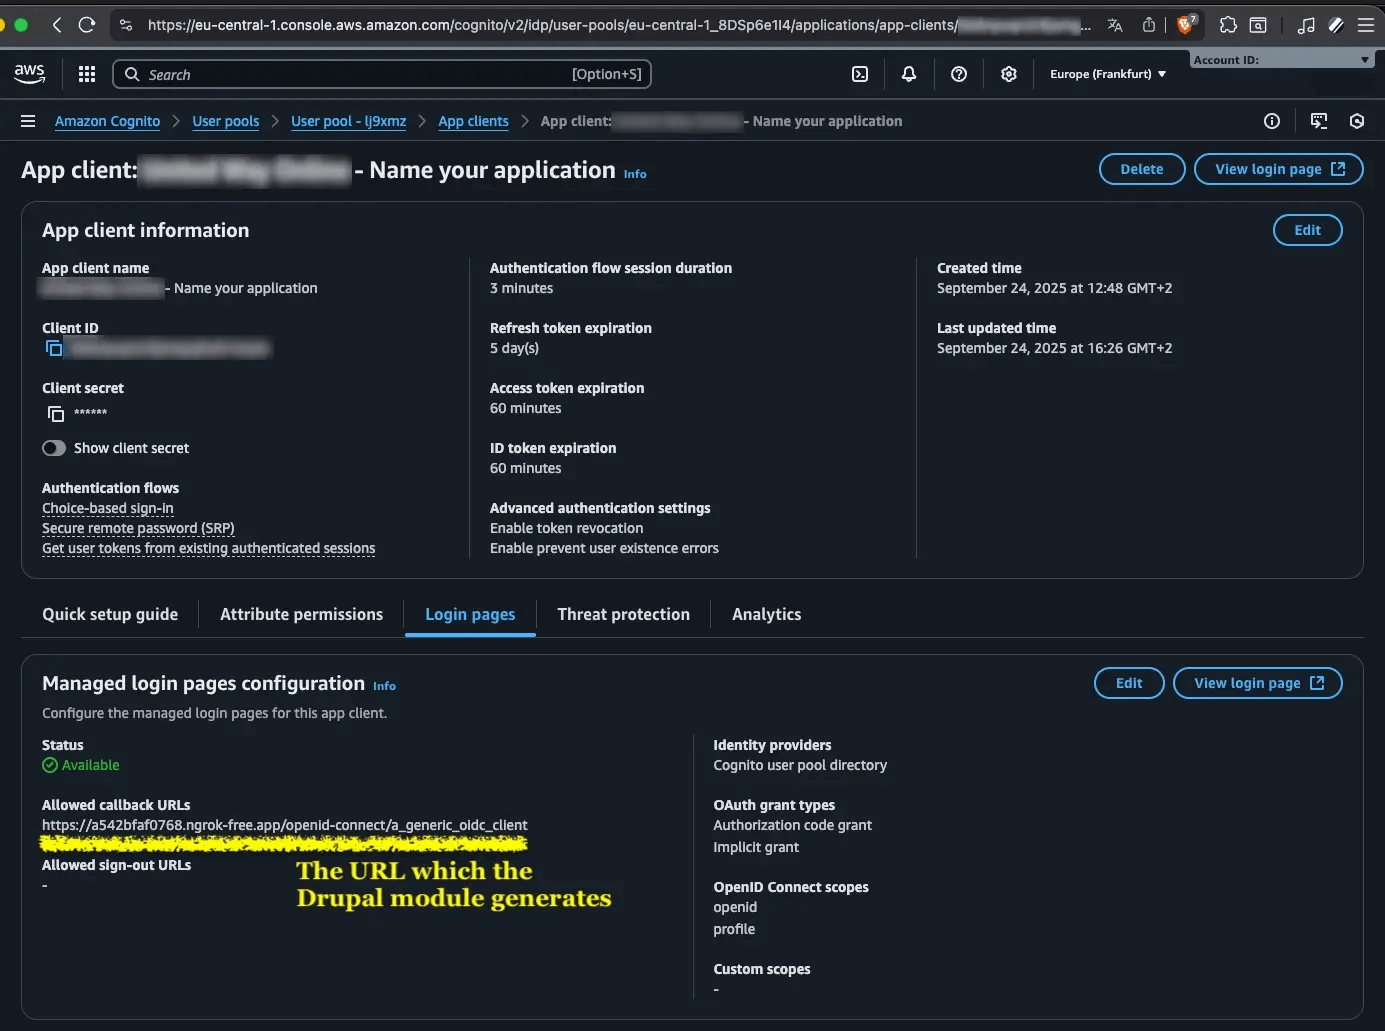
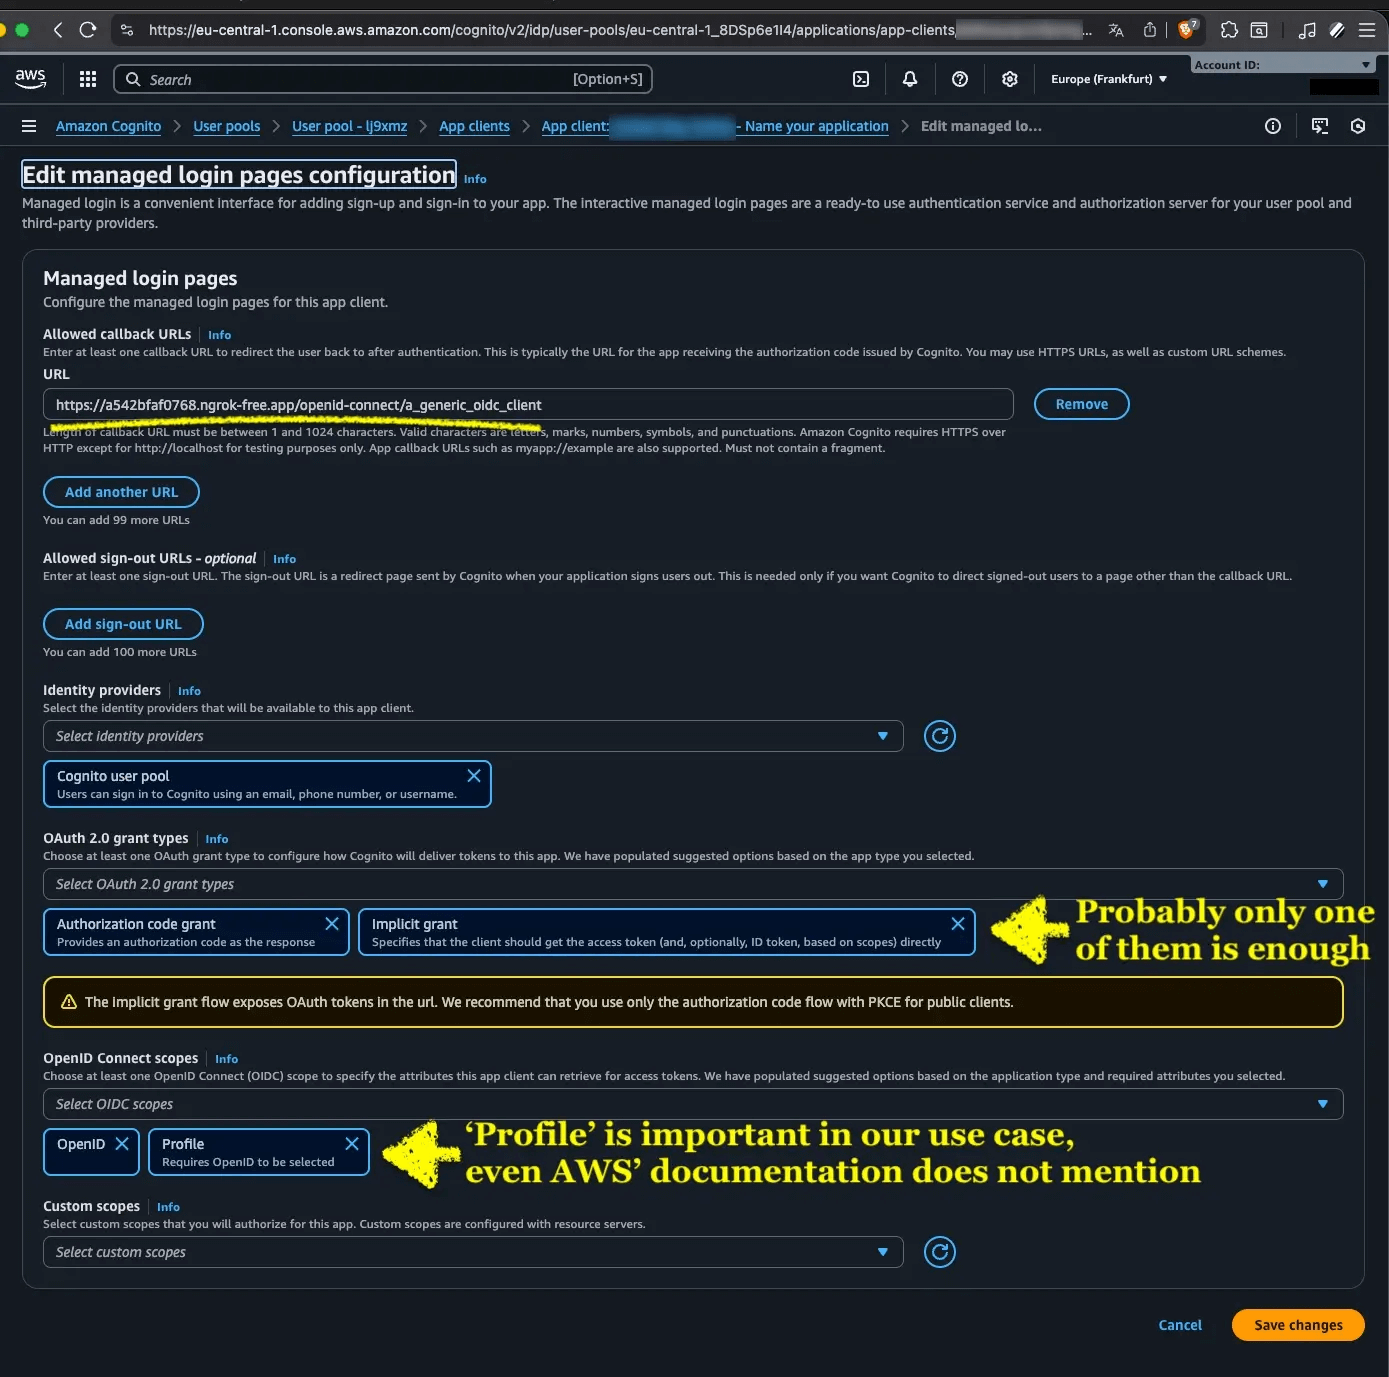
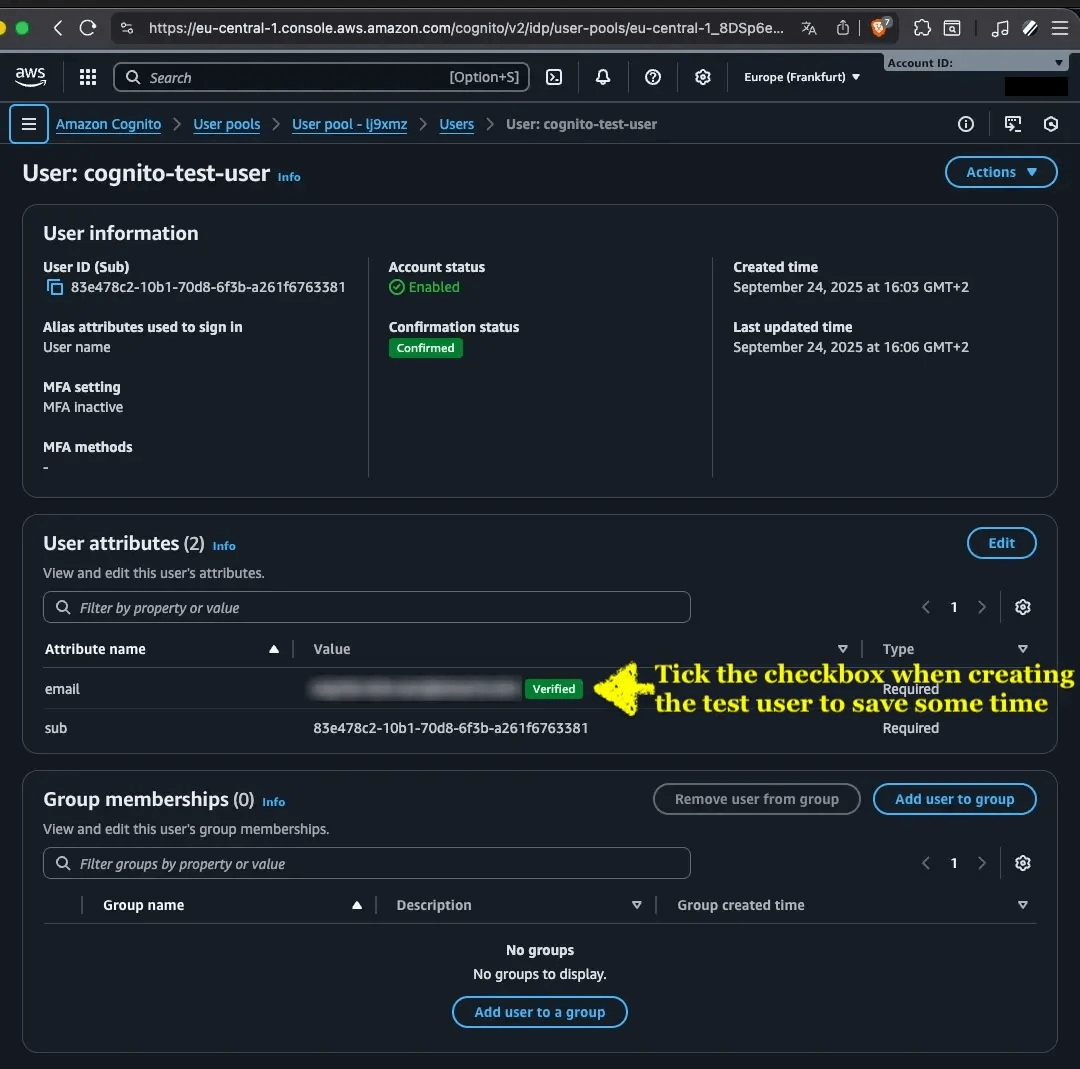
AWS Cognito
PHP: 8.4.12
Nginx: 1.28.0
MariaDB: 0.11.14-MariaDB-ubu2204-log
Drupal Core: 11.2.2
openid_connect: 3.0.0-alpha6
6 Custom clients
The OpenID Connect module allows additional client plugins to be installed for extending the list of supported authorization clients.
You may want to search the Drupal Contributed Modules for an OpenID Connect client plugin implementation of your authentication server.
For creating your own OpenID Connect client plugin, please check the README.txt and source code documentation of the OpenID Connect module.
Help improve this page
You can:
- Log in, click Edit, and edit this page
- Log in, click Discuss, update the Page status value, and suggest an improvement
- Log in and create a Documentation issue with your suggestion
