
On this page
- Overview
- Modules used
- Modules to download
- Modules to enable after installation
- Set up content type
- Non Field Collection content type fields
- Adding a Field Collection field to the content type
- Adding fields to the field collection
- Setting up the View
- Add a new view
- Modifying the master display
- Overriding Node Display for Meeting Packet content type
- Field Collection bug
Example: Using Field Collection to force a list of human-readable names of documents attached to a node
Overview
The Field Collection module is a great tool for grouping fields together. The example provided with the module uses a song playlist. This example relates to multiple documents attached to a node. If, for example, only one document is attached to a node, one can use the node title instead of a field collection. However, multiple documents will need their own title and using the node title to display a link to the document is not useful.
This page covers how to use the Field Collection module with other site building tools to force prettier, human-friendly titles for documents attached to a node. This was the set up used for a document repository site where several of an organization's staff members upload documents for the organization's board members. There was no naming convention for documents, for example one document may be titled "boardreportaugust92012.pdf" and another may be titled "board report_2012.05.10.pdf" - not easy to skim in a list! This (hopefully) forces contributors to add a human-friendly title to the document.
As with all things Drupal, there are multiple ways to accomplish site building goals. This particular example deals with setting up a content type that contains meeting information (such as location and time) as well as attaching multiple documents for that specific meeting and adjusting the output.
Exported text files included at the bottom.
Modules used
Modules to download
Modules to enable after installation
- Chaos tools
- Page manager
- Views content panes
- Field collection
- Mini panels
- Panels
- Views
- Views UI
Also used is the Date module for setting up a date field in the content type and Download File for one-click document download.
Once you have installed the above modules, proceed to the next step.
Set up content type
Non Field Collection content type fields
- Create a content type called "Meeting Packet" and add any pertinent details such as description, title field label, publishing options, etc. Click "Save and add fields".
- Delete the body (long text) field.
- Add a field for the time and date of the meeting - the date module is very handy for this.
- Add a field for the location of the meeting. In this example, I created a Vocabulary called "Location" and added each location of the organization as a term.
- Add a field for Additional Information - non-teaser version of "Long text".
Adding a Field Collection field to the content type
- Add a new field called "Attach Document(s)". I changed the machine name to "field_mtg_docs".
- Set the field type to "Field Collection".
- Set the widget as "Embedded".
- Click "Save field settings" and proceed to the next step.
- Set the details of the Field Collection field, such as if it's a required field, the help text. In this instance, I set the "Number of values" to Unlimited.

Adding fields to the field collection
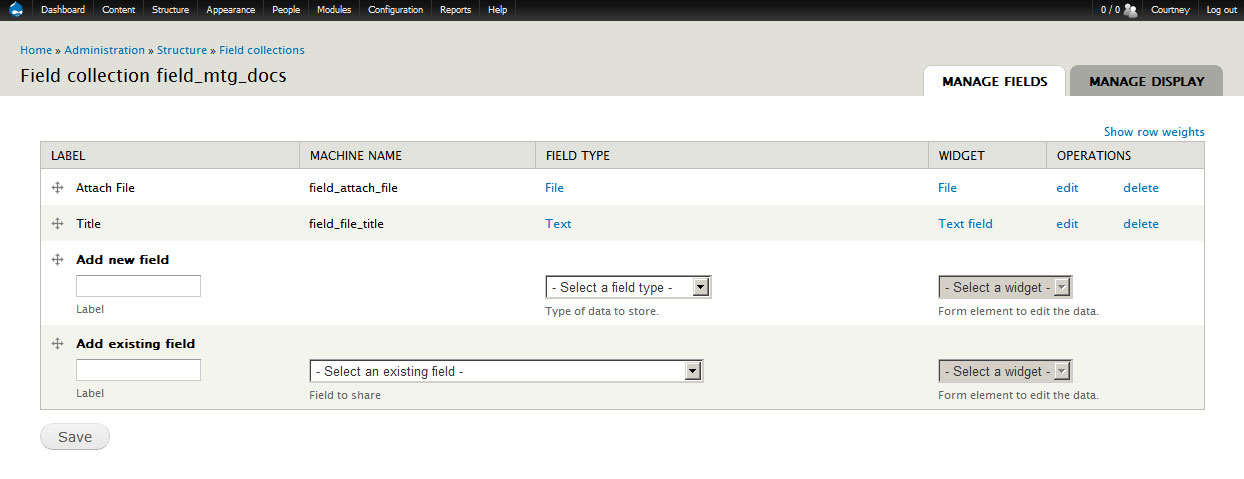
- Go to Admin » Structure » Field collections. Click on the "manage fields" link.
- Add a new field and call it "Attach File". Field type is "File", widget is "File". Save.
- Set the details of the "Attach File" field such as if it's a required field, the help text, allowed file extensions, etc. In this instance, I set it as a required field, and the "Number of values" to 1.
- Enable Display field is left unchecked.
- Files displayed by default is left unchecked.
- Select the upload destination - either "Public" or "Private".
- Add a new field and call it "Title". Set the field type as "Text" and the widget as "Text Field". Save.
- Set the details of the "Title" field, such as if it's a required field, the help text, text processing, etc. In this instance, I set it as a required field, and the "Number of values" to 1.
After all of this is done, one may notice that the node output isn't really useful. The next steps cover how to display the documents attached as a list of links to the documents using the document title field.
Setting up the View
Add a new view
- Go to Admin » Structure » Views » Add new view.
- View name: Meeting Packet Node Display
- Show "Content" of type "Meeting Packet" sorted by "Newest first".
- Uncheck "Create a page".
- Click Continue & edit.

Modifying the master display
- Format style: HTML list. Click Apply.
- Show: Fields. If it is set to something else by default, change it to Fields. Click apply.
- Format settings: ignore everything except for List type. Make sure "Unordered list" is selected. Click Apply.
- Pager - Use pager: change to "Display all items".
- Click on "Advanced".
- Add a relationship: Look for the field name of the field collection. In this case it is "Content: Attach Document(s)". Check the box and click "Add and configure relationships".
- Leave the default. Click Apply.
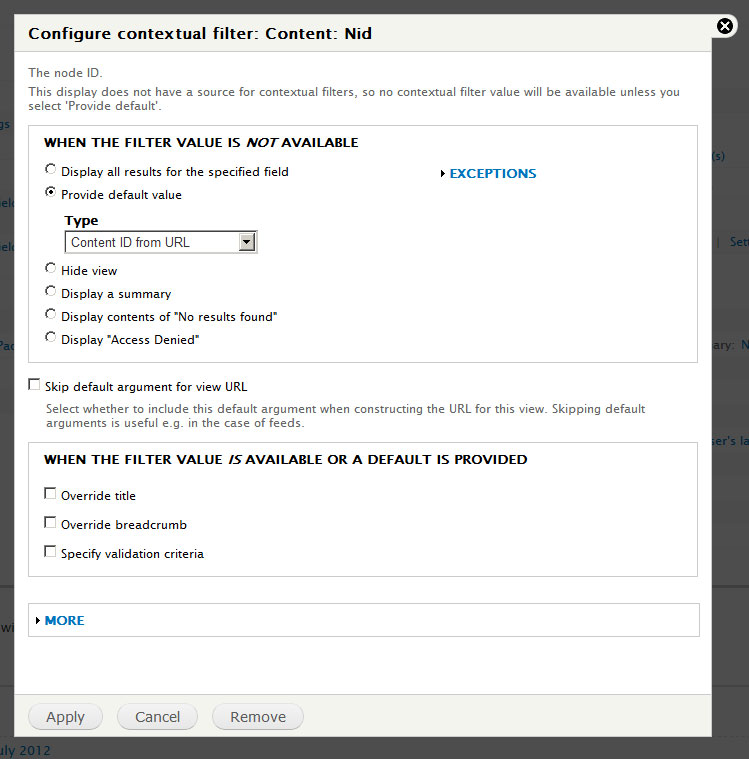
- Add a contextual filter: Content: NID.
- In the contextual filter settings, select "Provide default value". The type is "Content ID from URL". Click Apply.
- Fields: remove the "Title" field that is provided by default.
- Add the first field, "Field collection item: Attach file". Change the formatter to "URL to file" and check "Exclude from display".
- Add the second field, "Field collection item: Title". Uncheck "Create a label". Click on "Rewrite Results" and add the following: <a href="[field_attach_file]">[field_file_title]</a>
- Both of these fields are provided after adding the Relationship.
- You can test your view by adding a NID of a Meeting Packet node.
- Click save.



Overriding Node Display for Meeting Packet content type
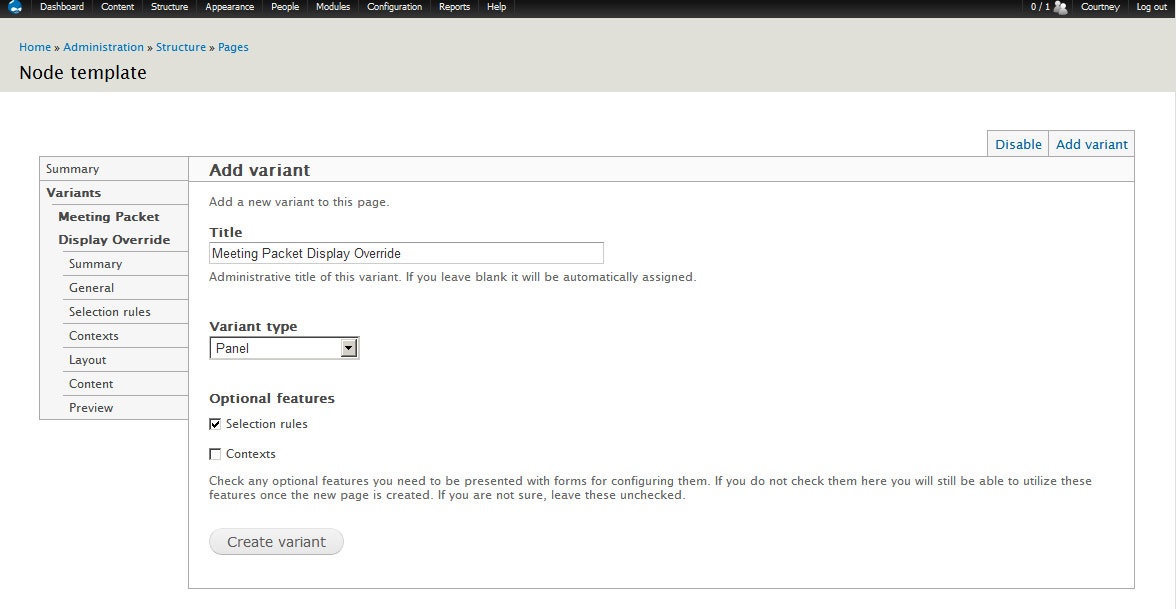
- Go to Admin » Structure » Panels. Find "Node template" under "Manage Pages". Click enable. Click edit. Click "Add variant".
- Set the Title of variant, set the variant type to "Panel" and check "Selection rules". Click "Create variant".
- Select "Node: Type", click "Add". Select "Meeting Packet". Click "Continue".
- Choose the layout. I selected "Columns: 1". Click the radio button. Click "Continue".
- Set the "Panel Settings". I left it as is with no changes. Click "Continue".
- Configure the "Panel content".
- Title type: Manually set
- Title: Example: Using Field Collection to force a list of human-readable names of documents attached to a node
- Click the gear and select/click "Add content".
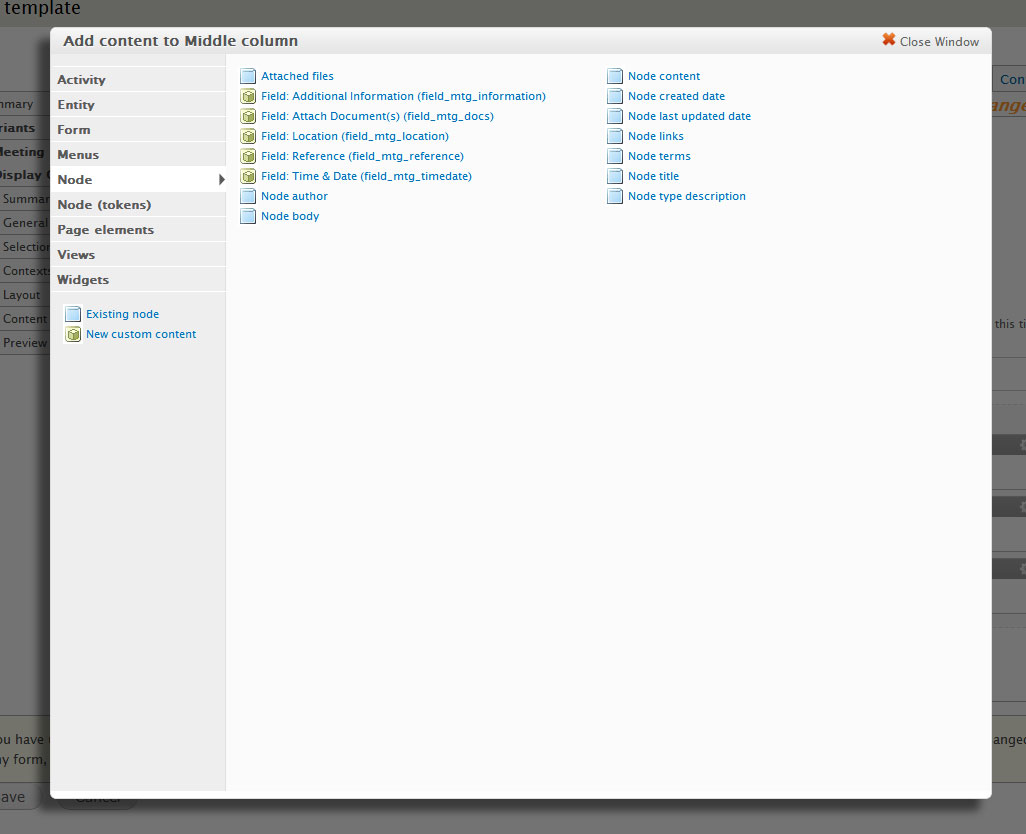
- Click "Node" from the lefthand menu. Select "Field: Location (field_mtg_location)". Change the Formatter options as needed. Click "Continue" and then "Finish".
- Click the gear and select/click "Add content" again.
- Click "Node" from the lefthand menu. Select "Field: Time & Date (field_mtg_timedate)". Change the Formatter options as needed. Click "Continue" and then "Finish".
- Click the gear and select/click "Add content" again.
- Click "Views" from the lefthand menu. Select the view you previously created - "Meeting Packet Node Display". Make sure "Master" is selected. Click "Continue".
- Configure the view display. I left everything as it was. Click "Finish".
- Click the gear and select/click "Add content".
- Click "Node" from the lefthand menu. Select "Field: Additional Information". Change the Formatter options as needed. Click "Continue" and then "Finish".
- Click on the "Save" button at the bottom of the page.
- Click on the "Save" button at the bottom of the page.


Now the node displays a list of files that is human-friendly!
Field Collection bug
Field Collection may throw a warning up when adding a document when creating a Meeting Packet node. You can follow the bug at http://drupal.org/node/1329856.
Help improve this page
You can:
- Log in, click Edit, and edit this page
- Log in, click Discuss, update the Page status value, and suggest an improvement
- Log in and create a Documentation issue with your suggestion
