ISPA — University Institute of Psychological, Social and Life Sciences is one of Portugal’s leading academic institutions in psychology, social sciences and life sciences.
With a strong commitment to research and innovation, ISPA serves thousands of students, teachers, researchers and administrative staff.
Its digital environment has evolved over more than a decade to support academic operations, internal communication and community engagement.
I am new to using Drupal but have had to jump in and get to know how to install and use it due to a client having Drupal installed on his site.
The client had the site, which ran Drupal 6.31, installed on a server in his office and had an issue with a former web developer who prevented the client from using the site from July 2024 onwards having hijacked the domain into his own name and locking the client out from accessing the site via both the browser and server.
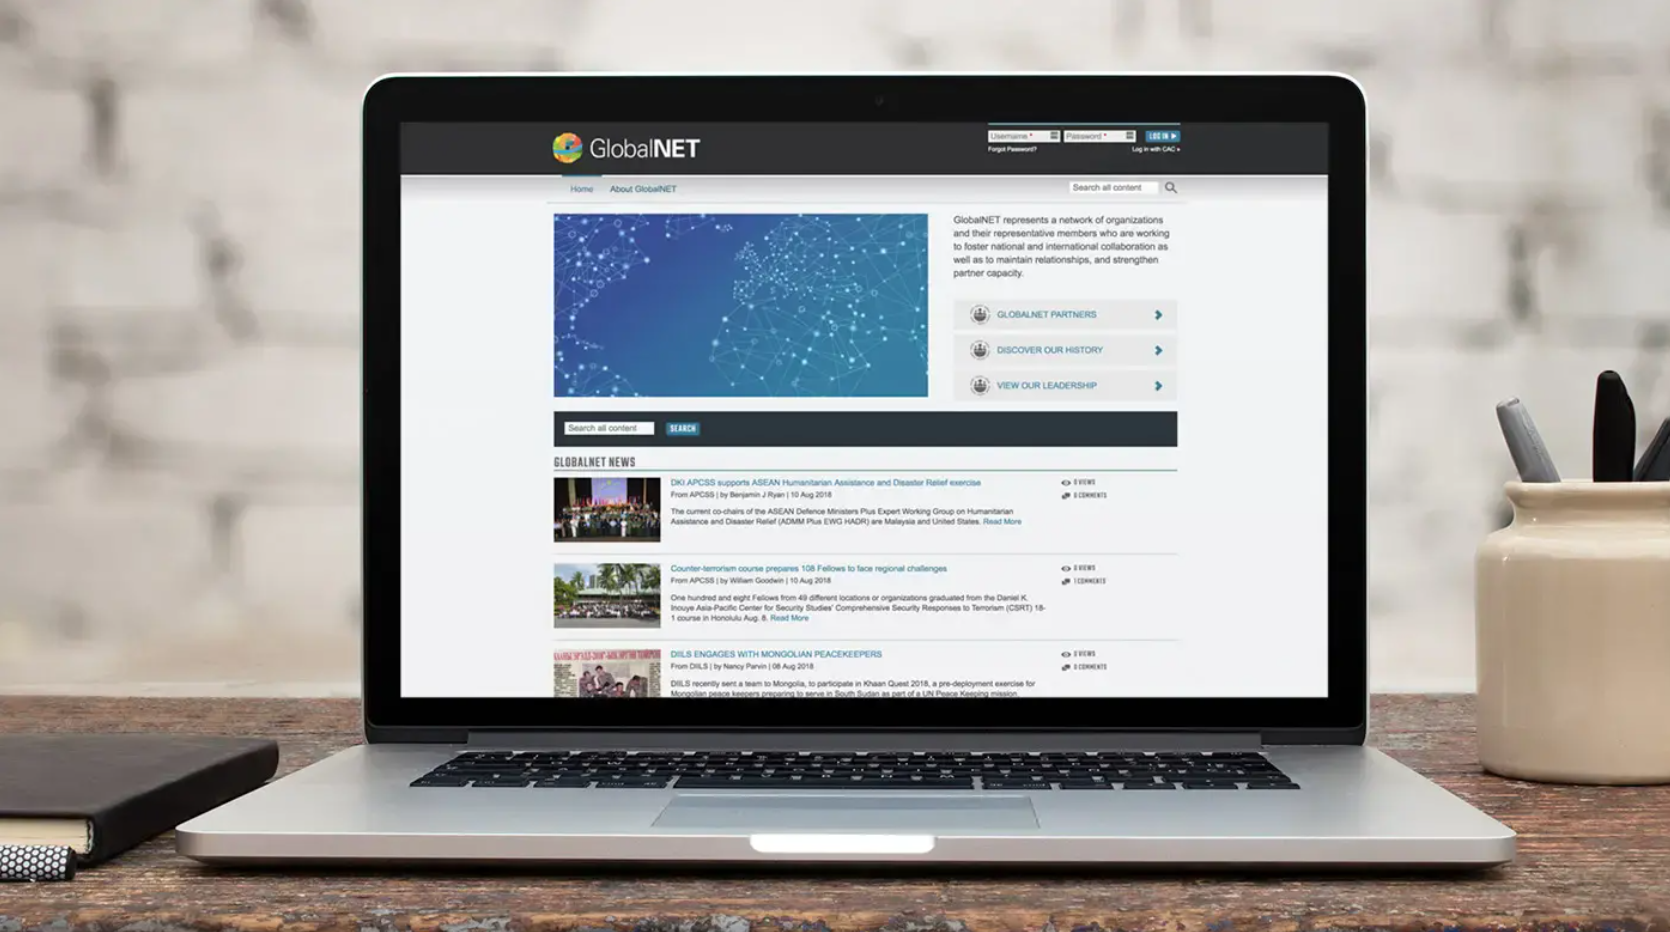
The Defense Security Cooperation Agency (DSCA) uses the GlobalNET platform to facilitate secure training and collaboration among partner organizations. Thousands of military, diplomatic, law enforcement, and civilian government personnel around the world use GlobalNET to connect with and learn from each other. They work on topics from security cooperation to humanitarian operations; counter-terrorism to public diplomacy; leadership development and more.
i have a old historic site chronicling rock climbs on Yosemite's el capitan and running drupal 6.38. my client wants to stop paying for hosting and migrate it to a laptop running wamp
i have installed wamp on windows 11 and have successfully installed drupal 6.38 using mariadb
the live site uses mysql. when i create a mysql db and try to do a fresh install of 6.38 i get the notice "unknown database ...."
wamp is using the same version of php as the live site 5.6