
Custom theming
This documentation needs review. See "Help improve this page" in the sidebar.
Extend via gin-custom.css
It is entirely possible to override the theming so you can create your own custom styles and tweak the interface.
Custom file name and location
Begin by creating a stylesheet and name it gin-custom.css. Then place it in your public files directory.
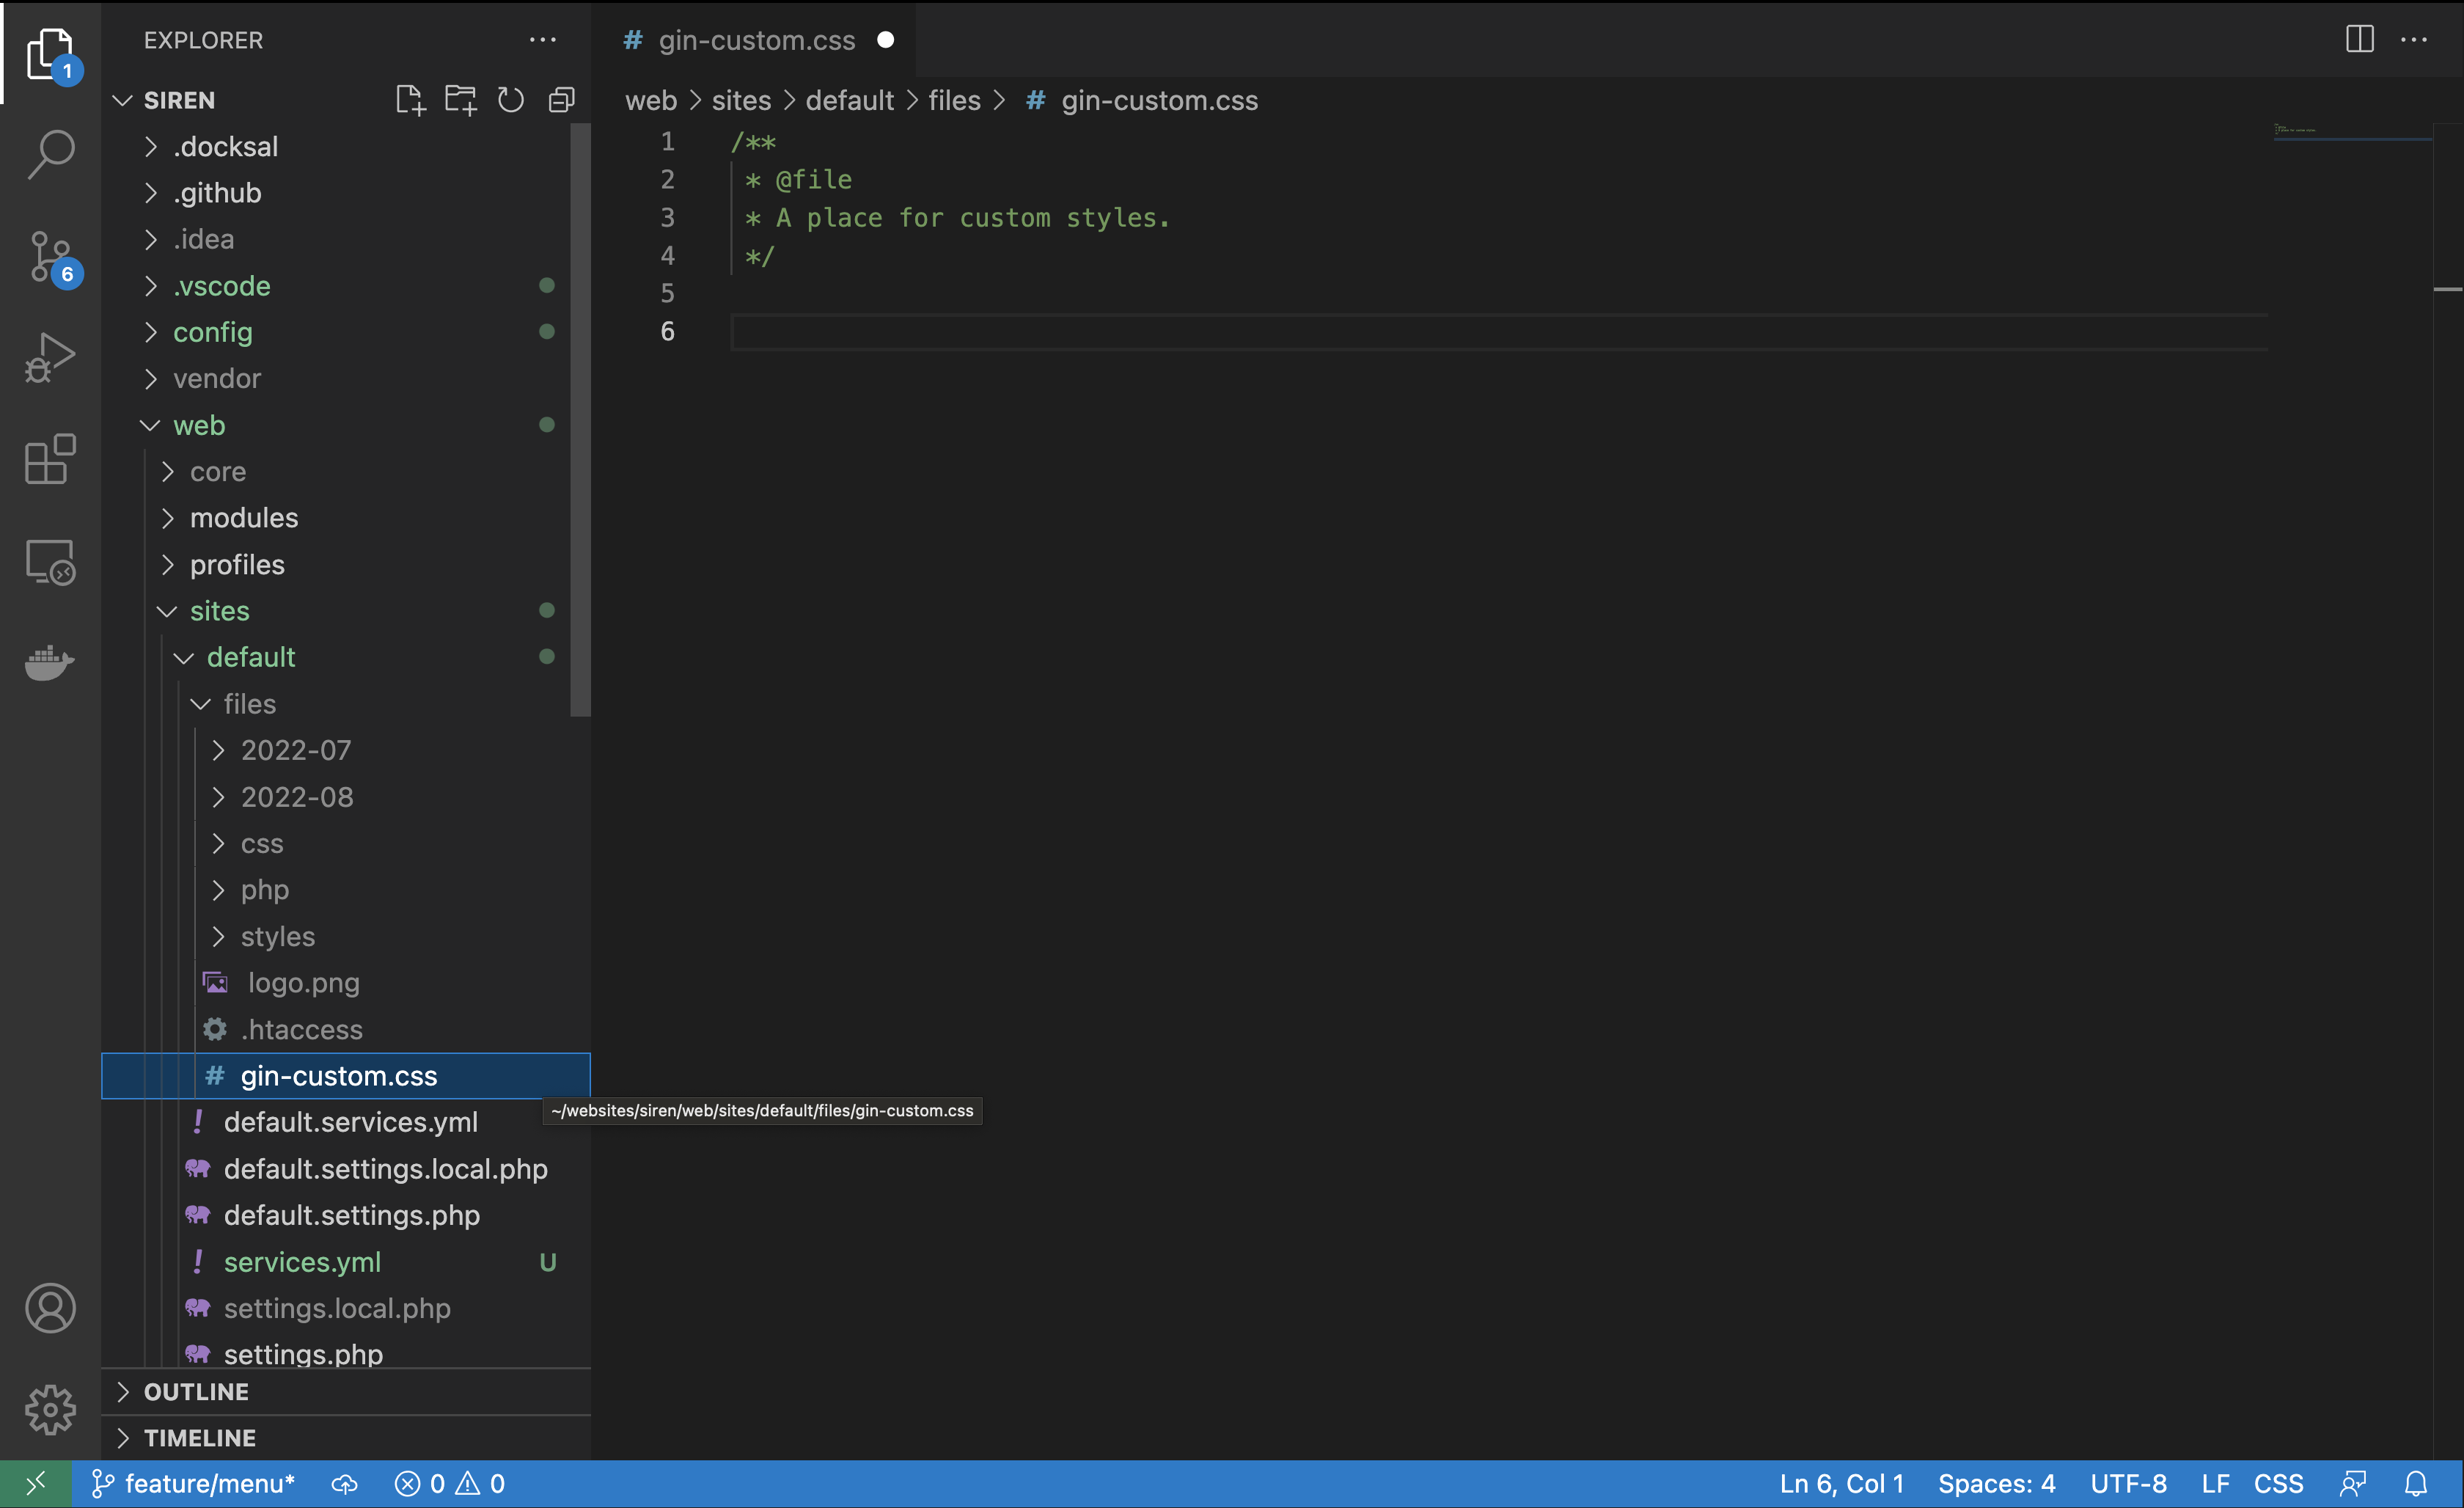
Check that the stylesheet has been loaded.

Extend with your own library
Module (recommended way)
If you want to extend Gin with a module you'll need to create a small helper module. You can then access the GinSettings for checks if needed.
/* your_module.module */

<?php

use Drupal\gin\GinSettings; // Optional.

/**
 * Implements hook_page_attachments()
 */
function your_module_page_attachments(array &$attachments) {
  // Get theme settings (optional).
  /** @var \Drupal\gin\GinSettings $settings */
  $settings = \Drupal::classResolver(GinSettings::class);

  // Toolbar example.
  $toolbar = $settings->get('classic_toolbar');

  // Attach the base library if the horizontal toolbar is set.
  if ($toolbar === 'horizontal') {
    // Attach your library.
    $attachments['#attached']['library'][] = 'your_module/your_library';
  }

  // Route specific example.
  $route = \Drupal::routeMatch()->getRouteName();

  if (
    $route == 'user.login' ||
    $route == 'user.pass' ||
    $route == 'user.register'
  ) {
    // Attach your library.
    $attachments['#attached']['library'][] = 'your_module/your_library';
  }

  // attach the library if the active route is an admin one
  if (\Drupal::service('router.admin_context')->isAdminRoute()) {
    $attachments['#attached']['library'][] = 'your_module/your_library';
  }
}
Theme (not recommended)
⚠️ Subtheming Gin is not recommended, we do not officially support this method.
If overriding styles with a simple CSS is not enough, you can extend/override any of Gin's libraries. Or you can extend the custom CSS library to attach your own library as shown below:
/* your_theme.info.yml */

libraries-extend:
  gin/gin_base:
    - your_module/your_library_extension
Helpful code examples
Frontend Toolbar offsets
/* Position of your fixed header */
.your-fixed-header {
  position: fixed;
  top: var(--gin-toolbar-y-offset);
  left: var(--gin-toolbar-x-offset);
  width: calc(100% - var(--gin-toolbar-x-offset));
}
Add a custom icon to the toolbar
.your-menu-item-class::before {
  mask-image: url(PATHTO/ICON.svg);
  -webkit-mask-image: url(PATHTO/ICON.svg);
}
Remove dialog library from Frontend theme
If you don't want to use Gin's dialog styling in your frontend theme you can disable it by adding the following to your theme.info.yml:
libraries-override:
 claro/claro.drupal.dialog: false
 gin/dialog: false
 gin/gin_dialog: false
Sticky form action buttons
Gin users can move form action buttons into the sticky header. But due limited screen space, some actions might get hidden inside an overflow ("kebab") menu.
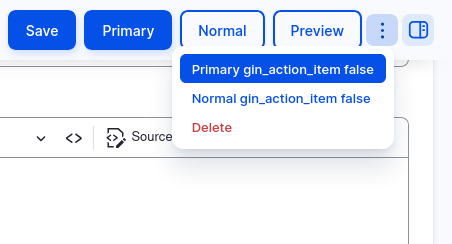
Module developers can explicitly specify the '#gin_action_item' parameter on a form button to manipulate the placement of the buttons.
// ===== Gin's default behavior =====
// Only buttons of type submit will be moved into the sticky header.
// If the action button's key is 'save' or 'submit' or 'preview',
// it will be placed in the visible area.
$form['actions']['save']['#type'] = 'submit';
// Buttons with any other key (e.g. "delete")
// will go into the overflow menu.
$form['actions']['delete']['#type'] = 'submit';

// ===== Override with '#gin_action_item' =====
// This button will be in the visible area.
$form['actions']['an_important_button']['#gin_action_item'] = TRUE;
// This button will be forced into the overflow menu.
$form['actions']['preview']['#gin_action_item'] = FALSE;
Help improve this page
You can:
- Log in, click Edit, and edit this page
- Log in, click Discuss, update the Page status value, and suggest an improvement
- Log in and create a Documentation issue with your suggestion
